Image Generation
RavenSaaS uses ai-sdk as the base library, combined with custom Providers, to support mainstream image generation models on the market.
Using OpenAI Image Models
Use OpenAI's dall-e-3 model to generate images:
You need to first top up at OpenAI Platform and create an API Key.
Other alternative platforms like ChatBox are also available, just modify OPENAI_BASE_URL and OPENAI_API_KEY.
1. Set Environment Variables
1OPENAI_BASE_URL = "https://api.openai.com/v1"
2OPENAI_API_KEY = "sk-xxx"
2. Generate Images
Parameters supported by providerOptions.openai, refer to OpenAI Image Generation API documentation
1import { experimental_generateImage as generateImage } from "ai";
2import { openai } from "@ai-sdk/openai";
3
4const prompt = "a beautiful girl running with 2 cats";
5const model = "dall-e-3";
6
7const imageModel = openai.image(model);
8const providerOptions = {
9  openai: {
10    quality: "hd",
11    style: "natural",
12  },
13};
14
15const { images, warnings } = await generateImage({
16  model: imageModel,
17  prompt: prompt,
18  n: 1,
19  providerOptions,
20});
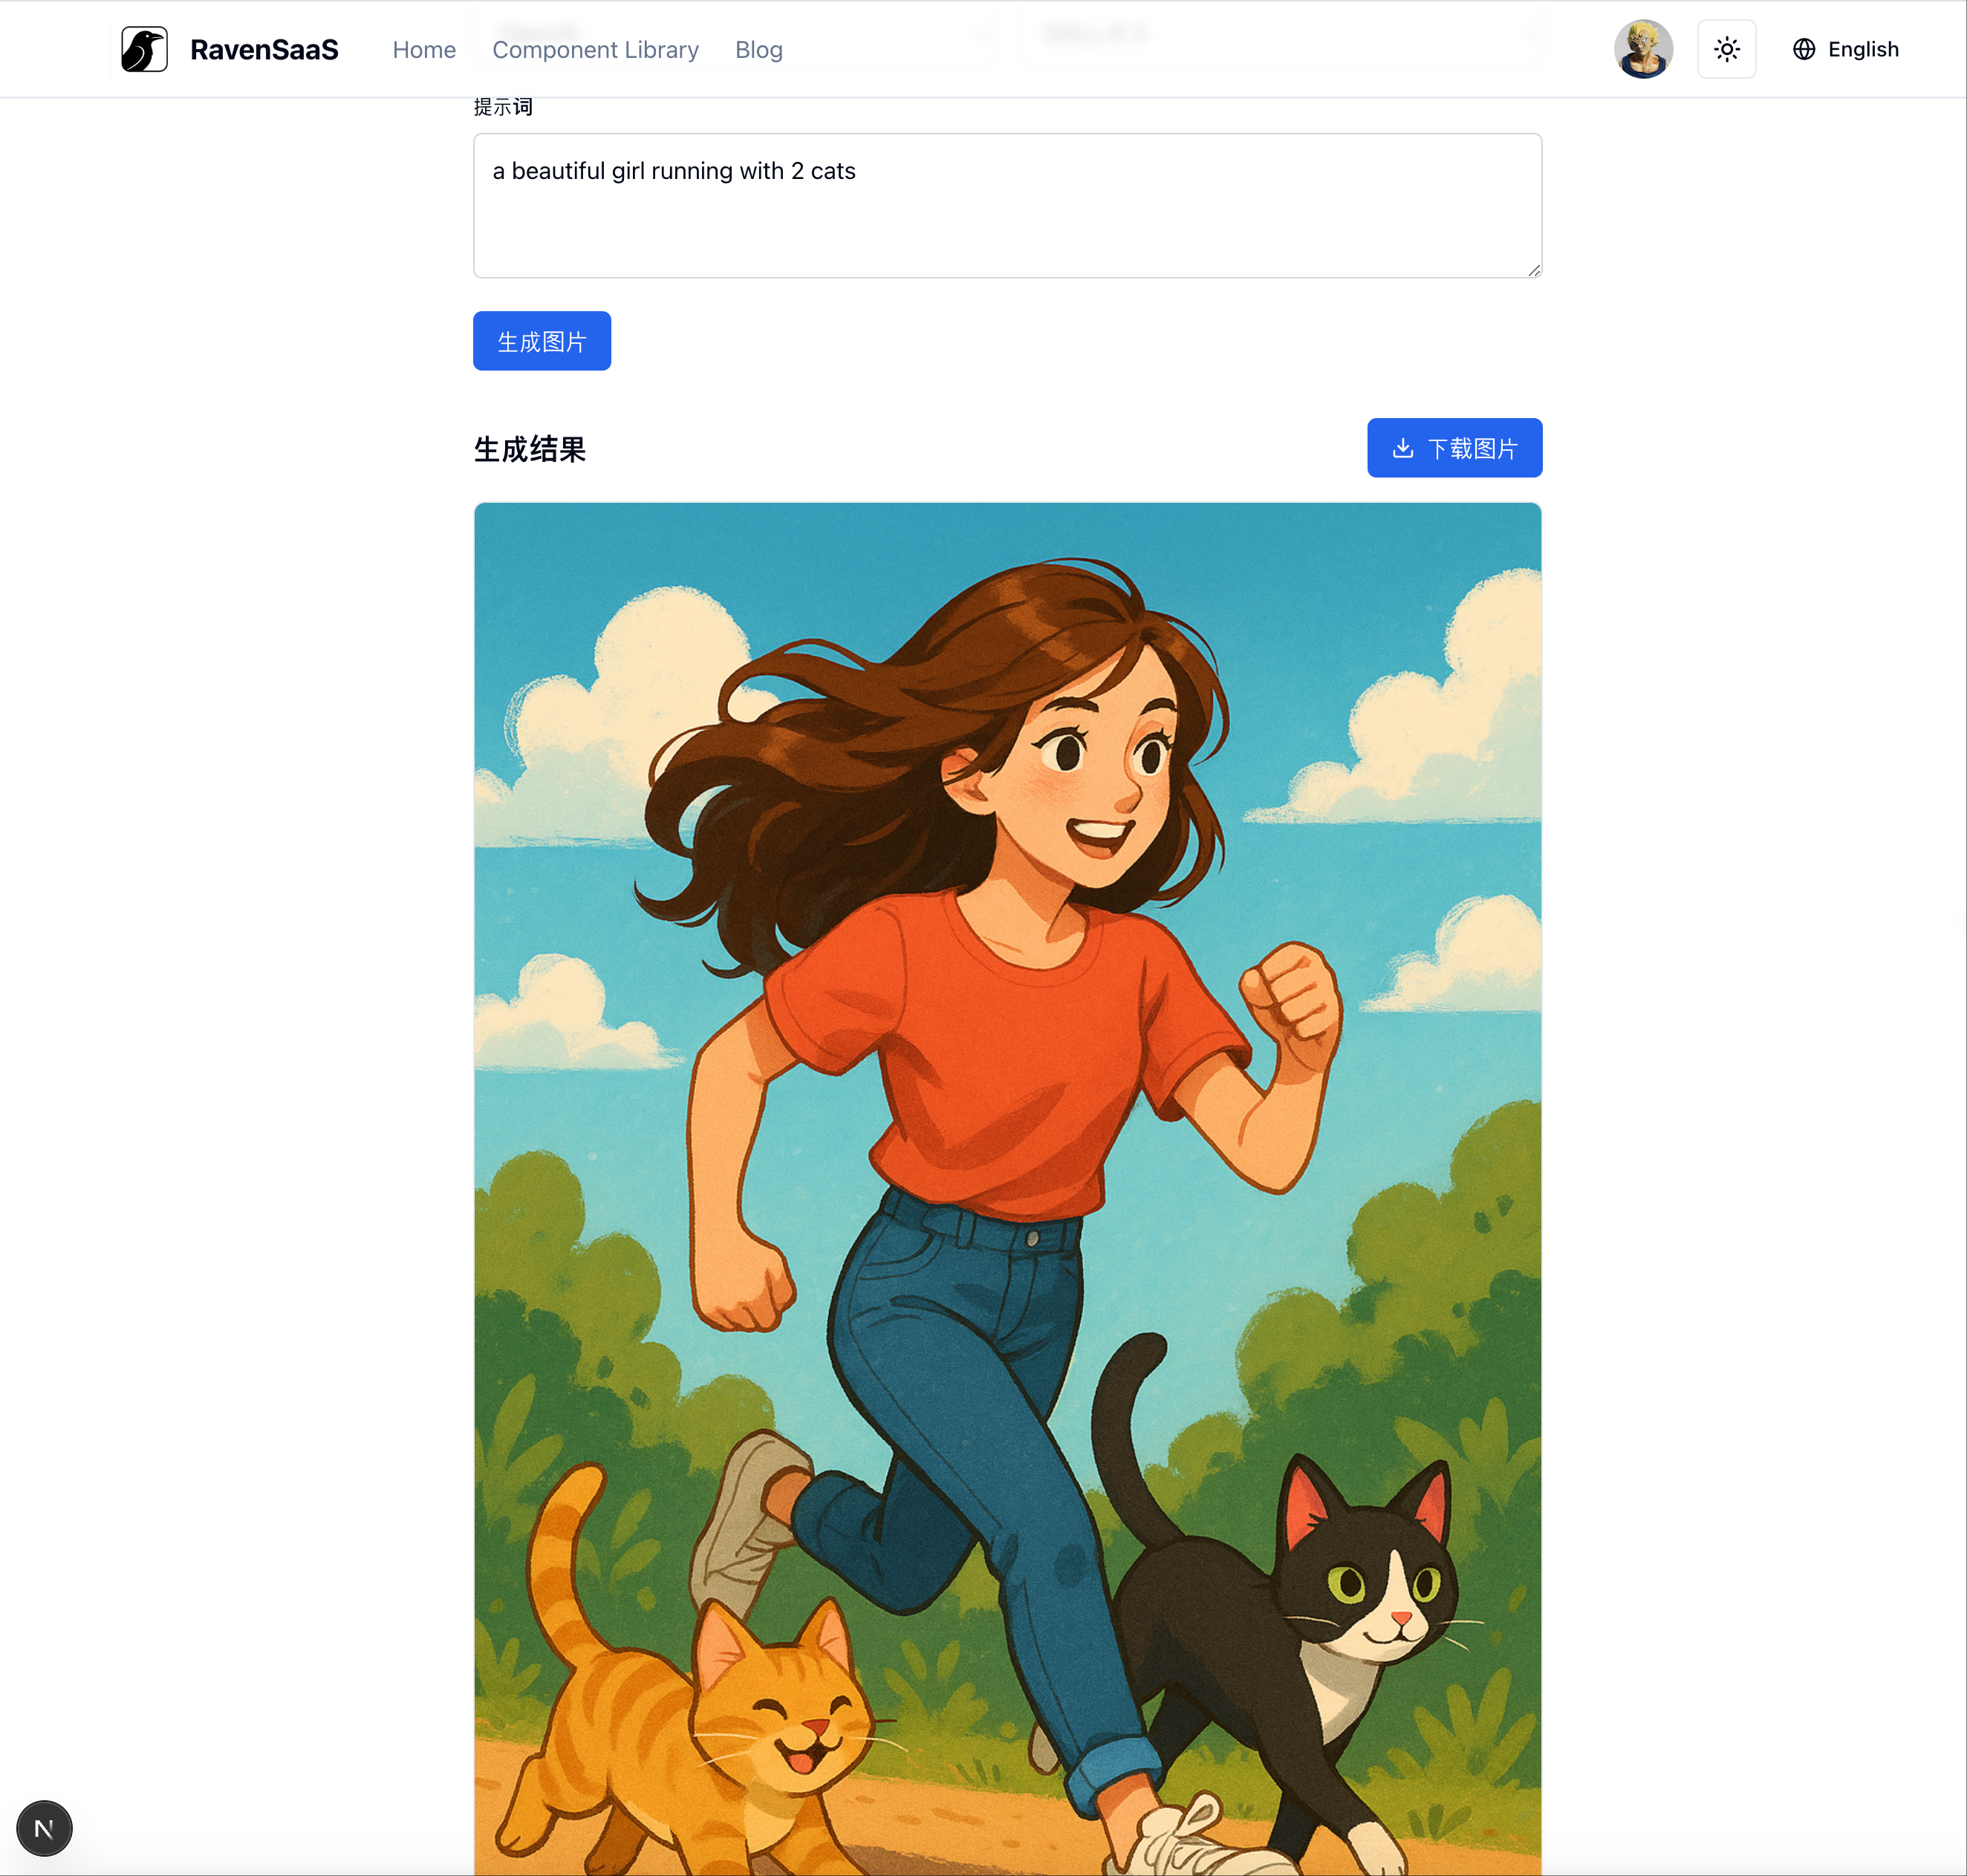
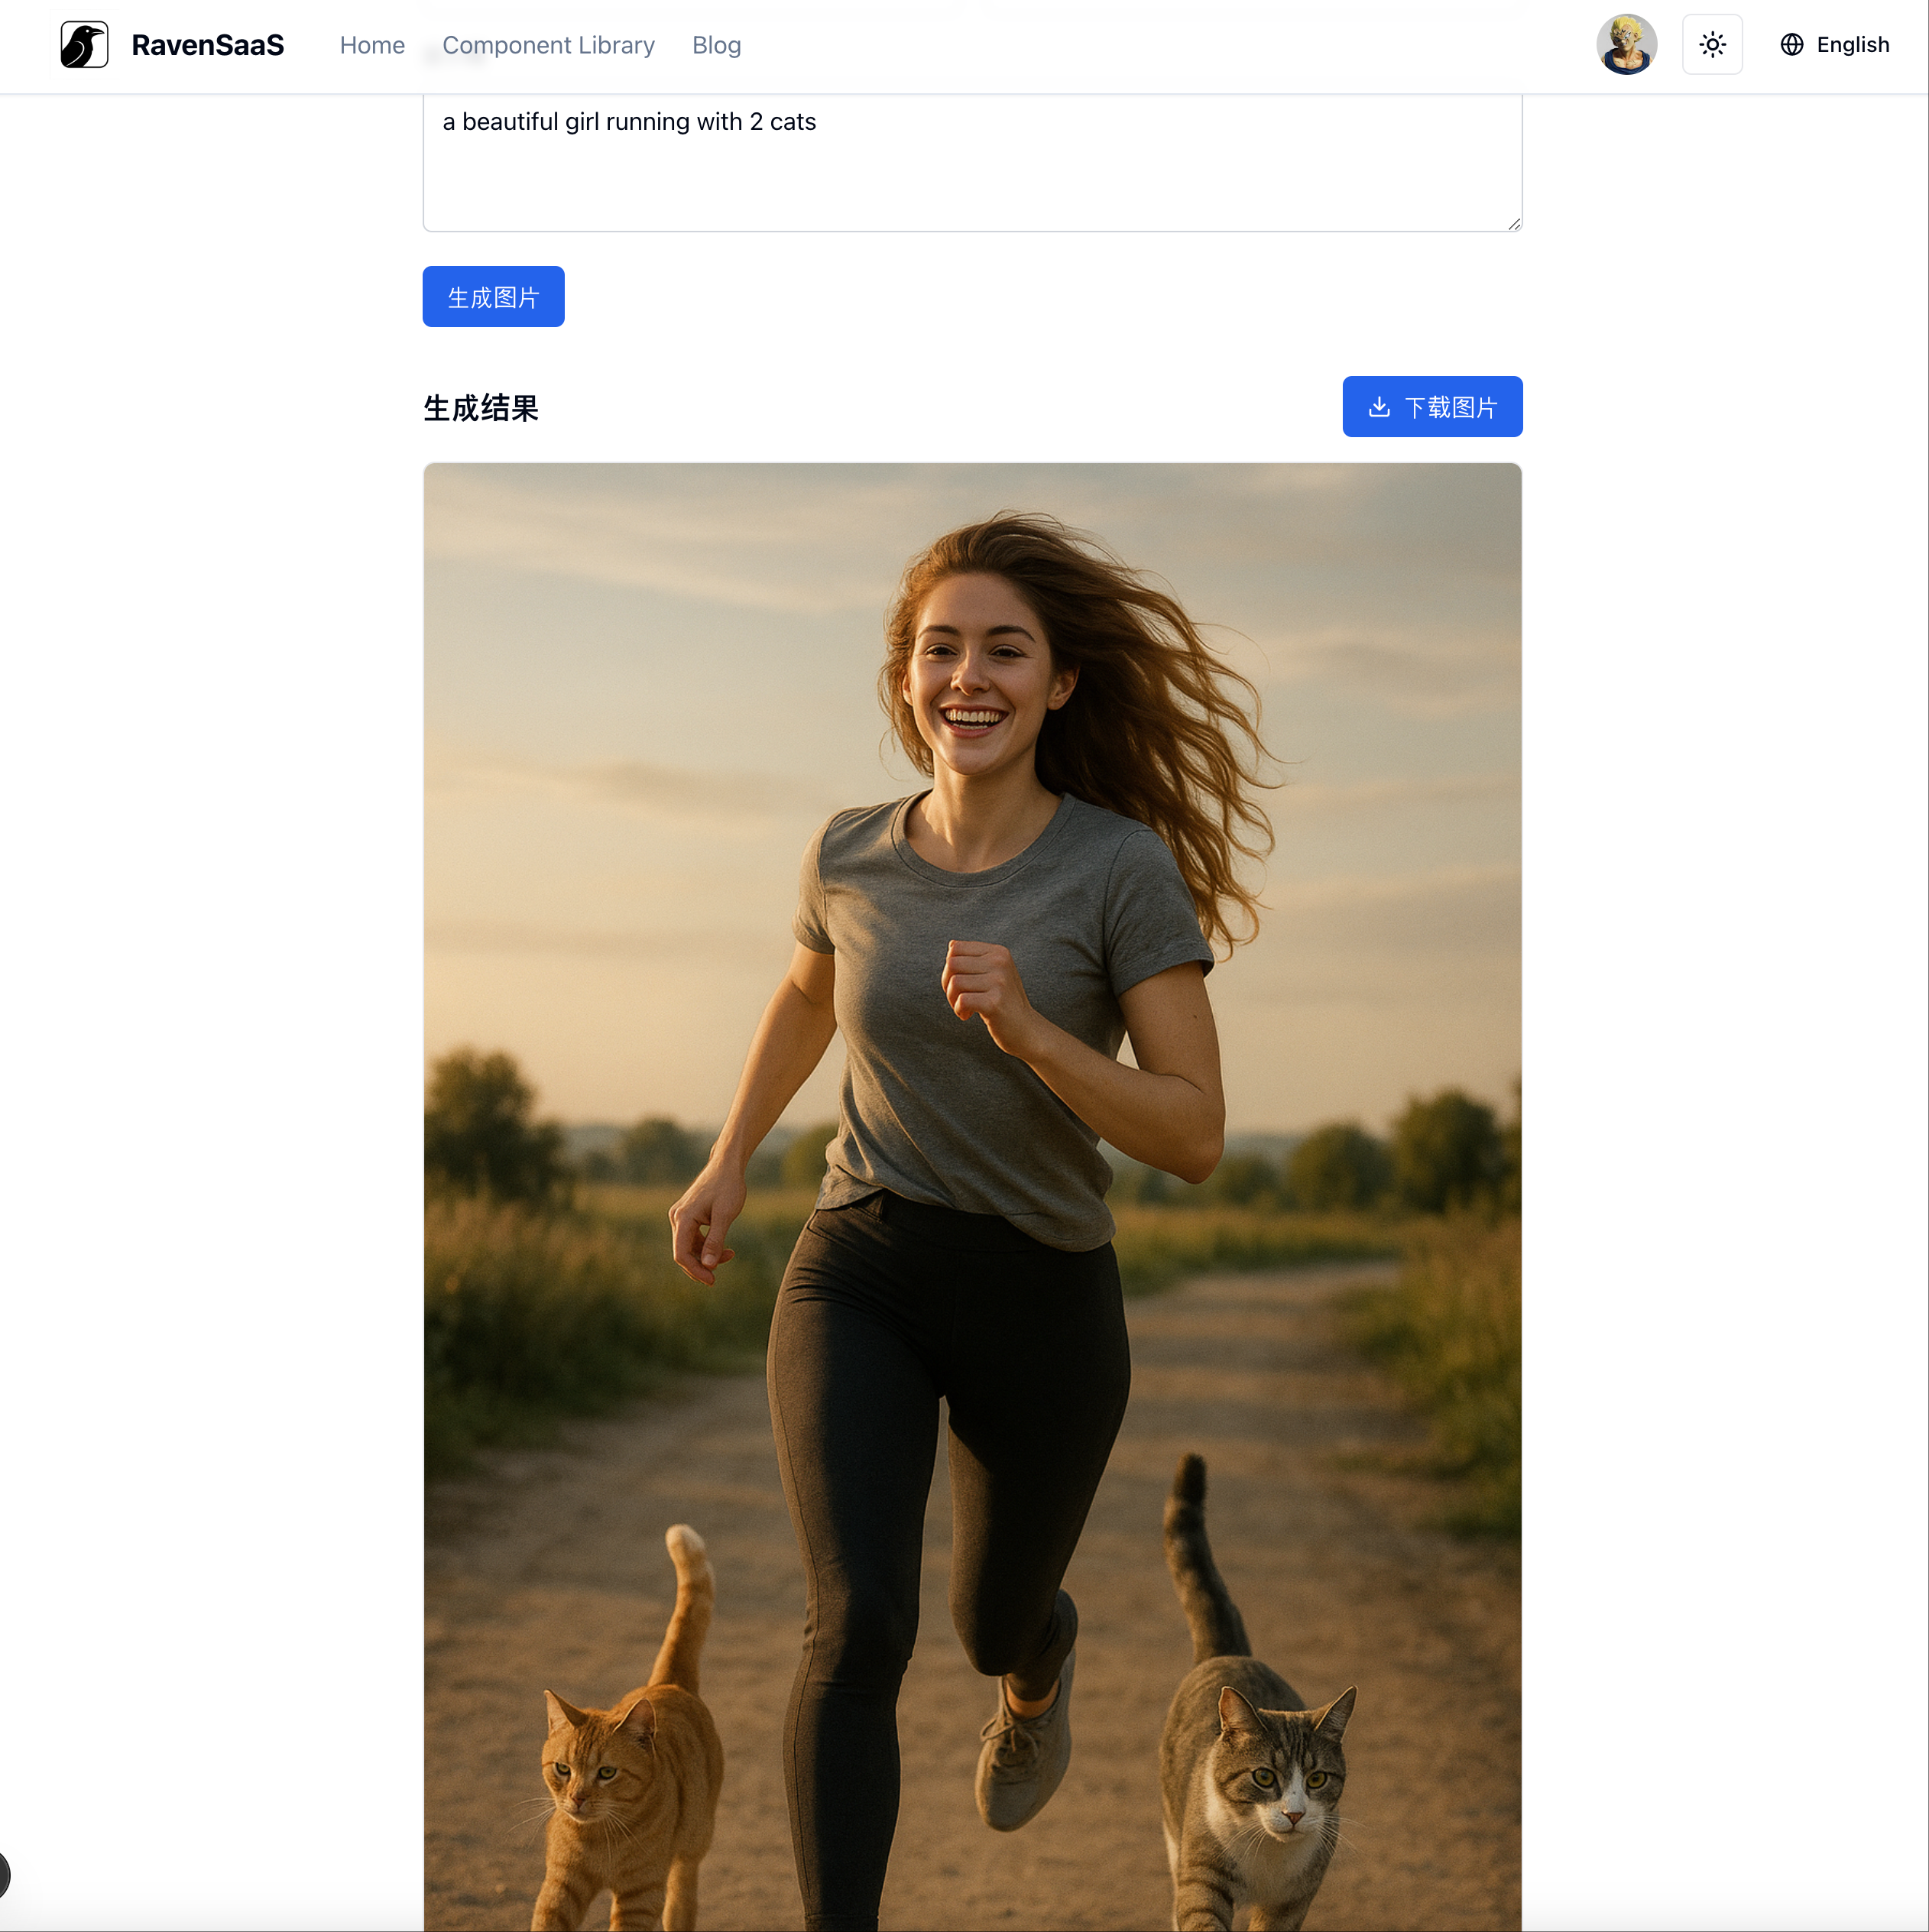
3. Preview Effect

Using Replicate Image Models
You need to first bind a credit card on Replicate and create an API Token.
1. Set Environment Variables
1REPLICATE_API_TOKEN = "r8_xxx"2. Generate Images
Select an image generation model in the Replicate model marketplace and copy the model name.
Parameters supported by providerOptions.replicate, refer to the selected model's API documentation
1import { experimental_generateImage as generateImage } from "ai";
2import { replicate } from "@ai-sdk/replicate";
3
4const prompt = "a beautiful girl running with 2 cats";
5const model = "black-forest-labs/flux-1.1-pro";
6
7const imageModel = replicate.image(model);
8const providerOptions = {
9  replicate: {
10    output_quality: 90,
11  },
12};
13
14const { images, warnings } = await generateImage({
15  model: imageModel,
16  prompt: prompt,
17  n: 1,
18  providerOptions,
19});
3. Preview Effect

Using Kling AI Image Models
You need to first top up Image Generation API at Kling AI and create an API Key.
1. Set Environment Variables
1KLING_ACCESS_KEY = "xxx"
2KLING_SECRET_KEY = "xxx"
2. Generate Images
Note
This uses RavenSaaS custom Provider: import '{ kling }' from "@/aisdk/kling";, which has a different import path from @ai-sdk Providers.
Parameters supported by providerOptions.kling, refer to Kling Image Generation API documentation
1import { experimental_generateImage as generateImage } from "ai";
2import { kling } from "@/aisdk/kling";
3
4const prompt = "a beautiful girl running with 2 cats";
5const model = "kling-v1";
6
7const imageModel = kling.image(model);
8const providerOptions = {
9  kling: {},
10};
11
12const { images, warnings } = await generateImage({
13  model: imageModel,
14  prompt: prompt,
15  n: 1,
16  providerOptions,
17});
Save Images to Local Files
Images generated through generateImage are base64 encoded string arrays.
You can refer to the code below to save image content to local files.
1const { images, warnings } = await generateImage({
2  model: imageModel,
3  prompt: prompt,
4  n: 1,
5  providerOptions,
6});
7
8if (warnings.length > 0) {
9  console.log("gen images warnings:", provider, warnings);
10  return respErr("gen images failed");
11}
12
13const batch = getUuid();
14
15const processedImages = await Promise.all(
16  images.map(async (image, index) => {
17    const fileName = `${provider}_image_${batch}_${index}.png`;
18    const filePath = path.join(process.cwd(), ".tmp", fileName);
19
20    const buffer = Buffer.from(image.base64, "base64");
21    await writeFile(filePath, buffer);
22
23    return {
24      provider,
25      fileName,
26      filePath,
27    };
28  })
29);