Getting Started
✨Thank you for choosing RavenSaaS, a modern NextJS SaaS development framework focused on helping developers quickly build AI-driven SaaS applications.
Get RavenSaaS Code
Get the project source code and start your development journey
Purchase on RavenSaaS official website
After payment, go to order center
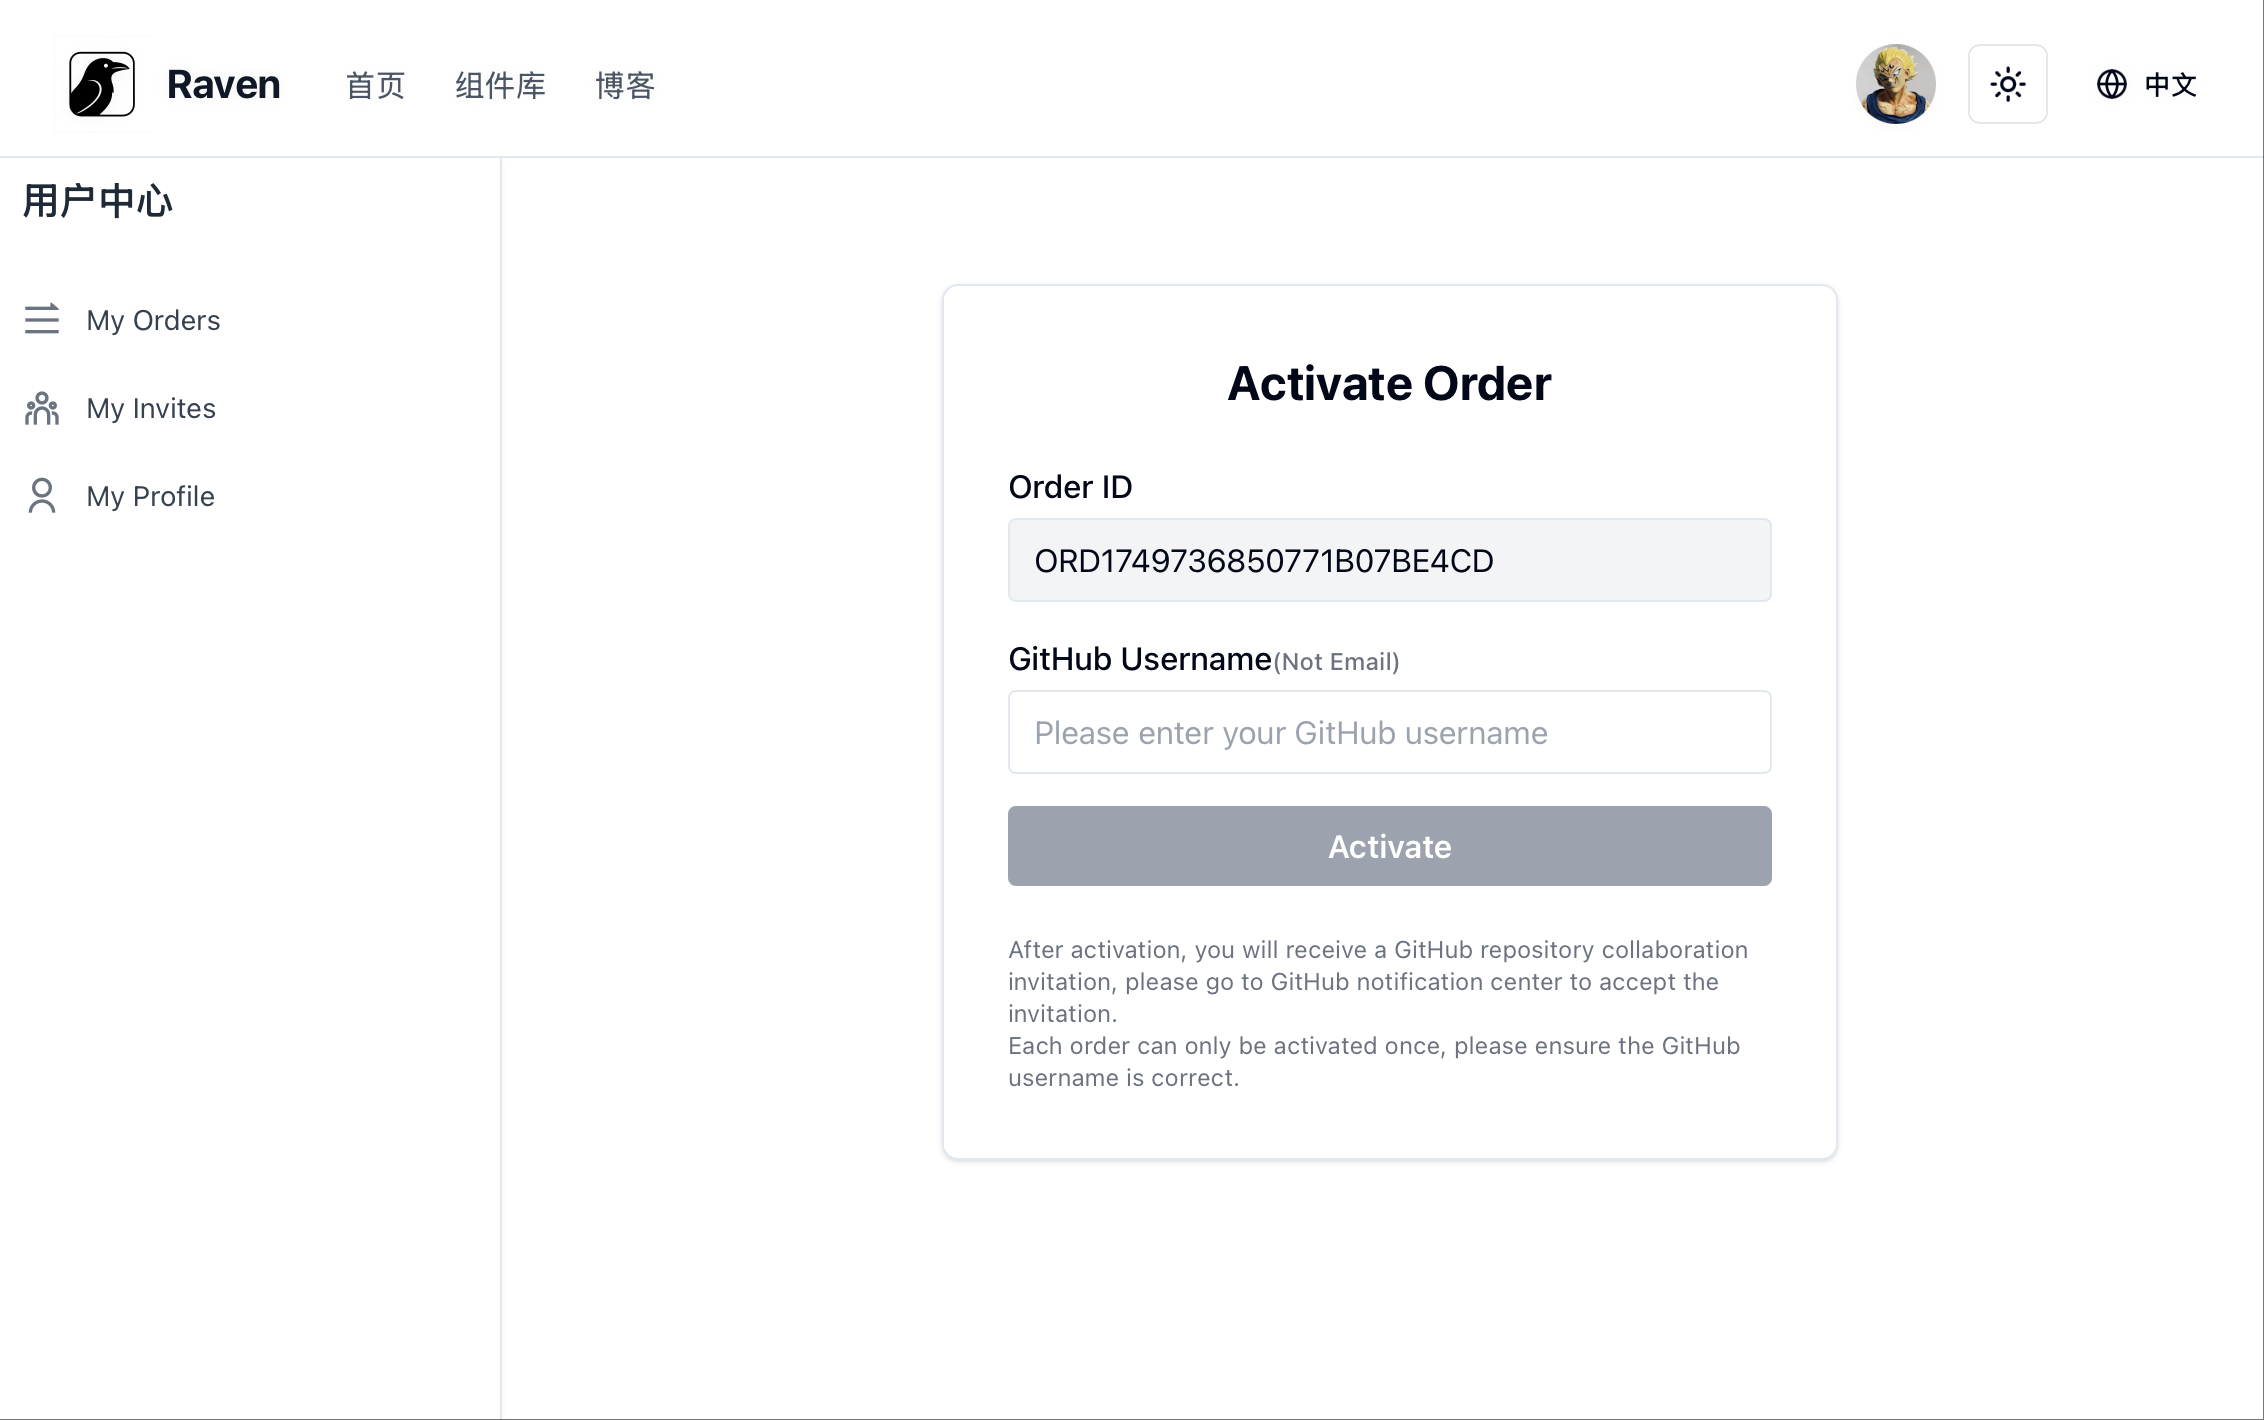
In the order center, click "Activate Order", enter your GitHub username, and click "Activate"

After successful activation, you will receive a GitHub repository invitation
Please accept the invitation in GitHub.
Pull Project Code
- 进入 RavenSaaS 代码仓库(如果您还未加入仓库,打开将显示 404)
- 选择 git clone 方式,或直接下载源码到本地Terminal
1git clone https://github.com/your-username/ravensaas-template.git my-saas-project
Install Project
- 进入项目根目录Terminal
1cd my-saas-project - 安装项目依赖Terminal
1pnpm install
Development & Debugging
- 复制环境变量配置文件Terminal
1cp .env.example .env.development - 启动开发服务器Terminal
1pnpm dev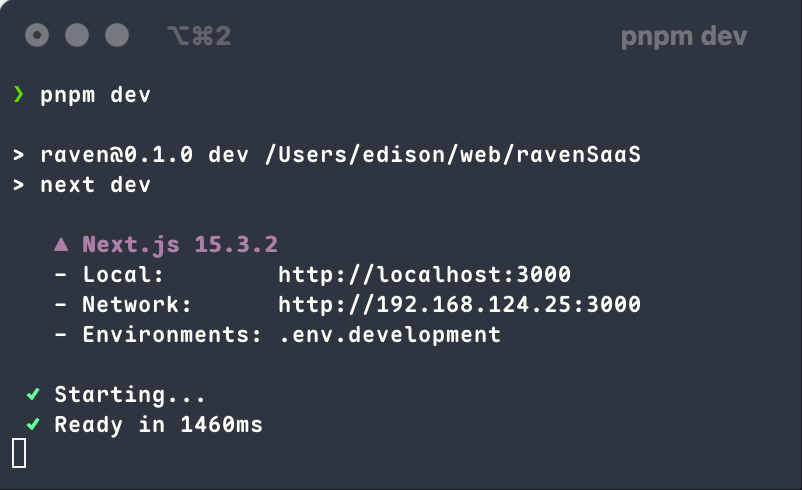
- 本地预览
Open in browser http://localhost:3000 to preview your project
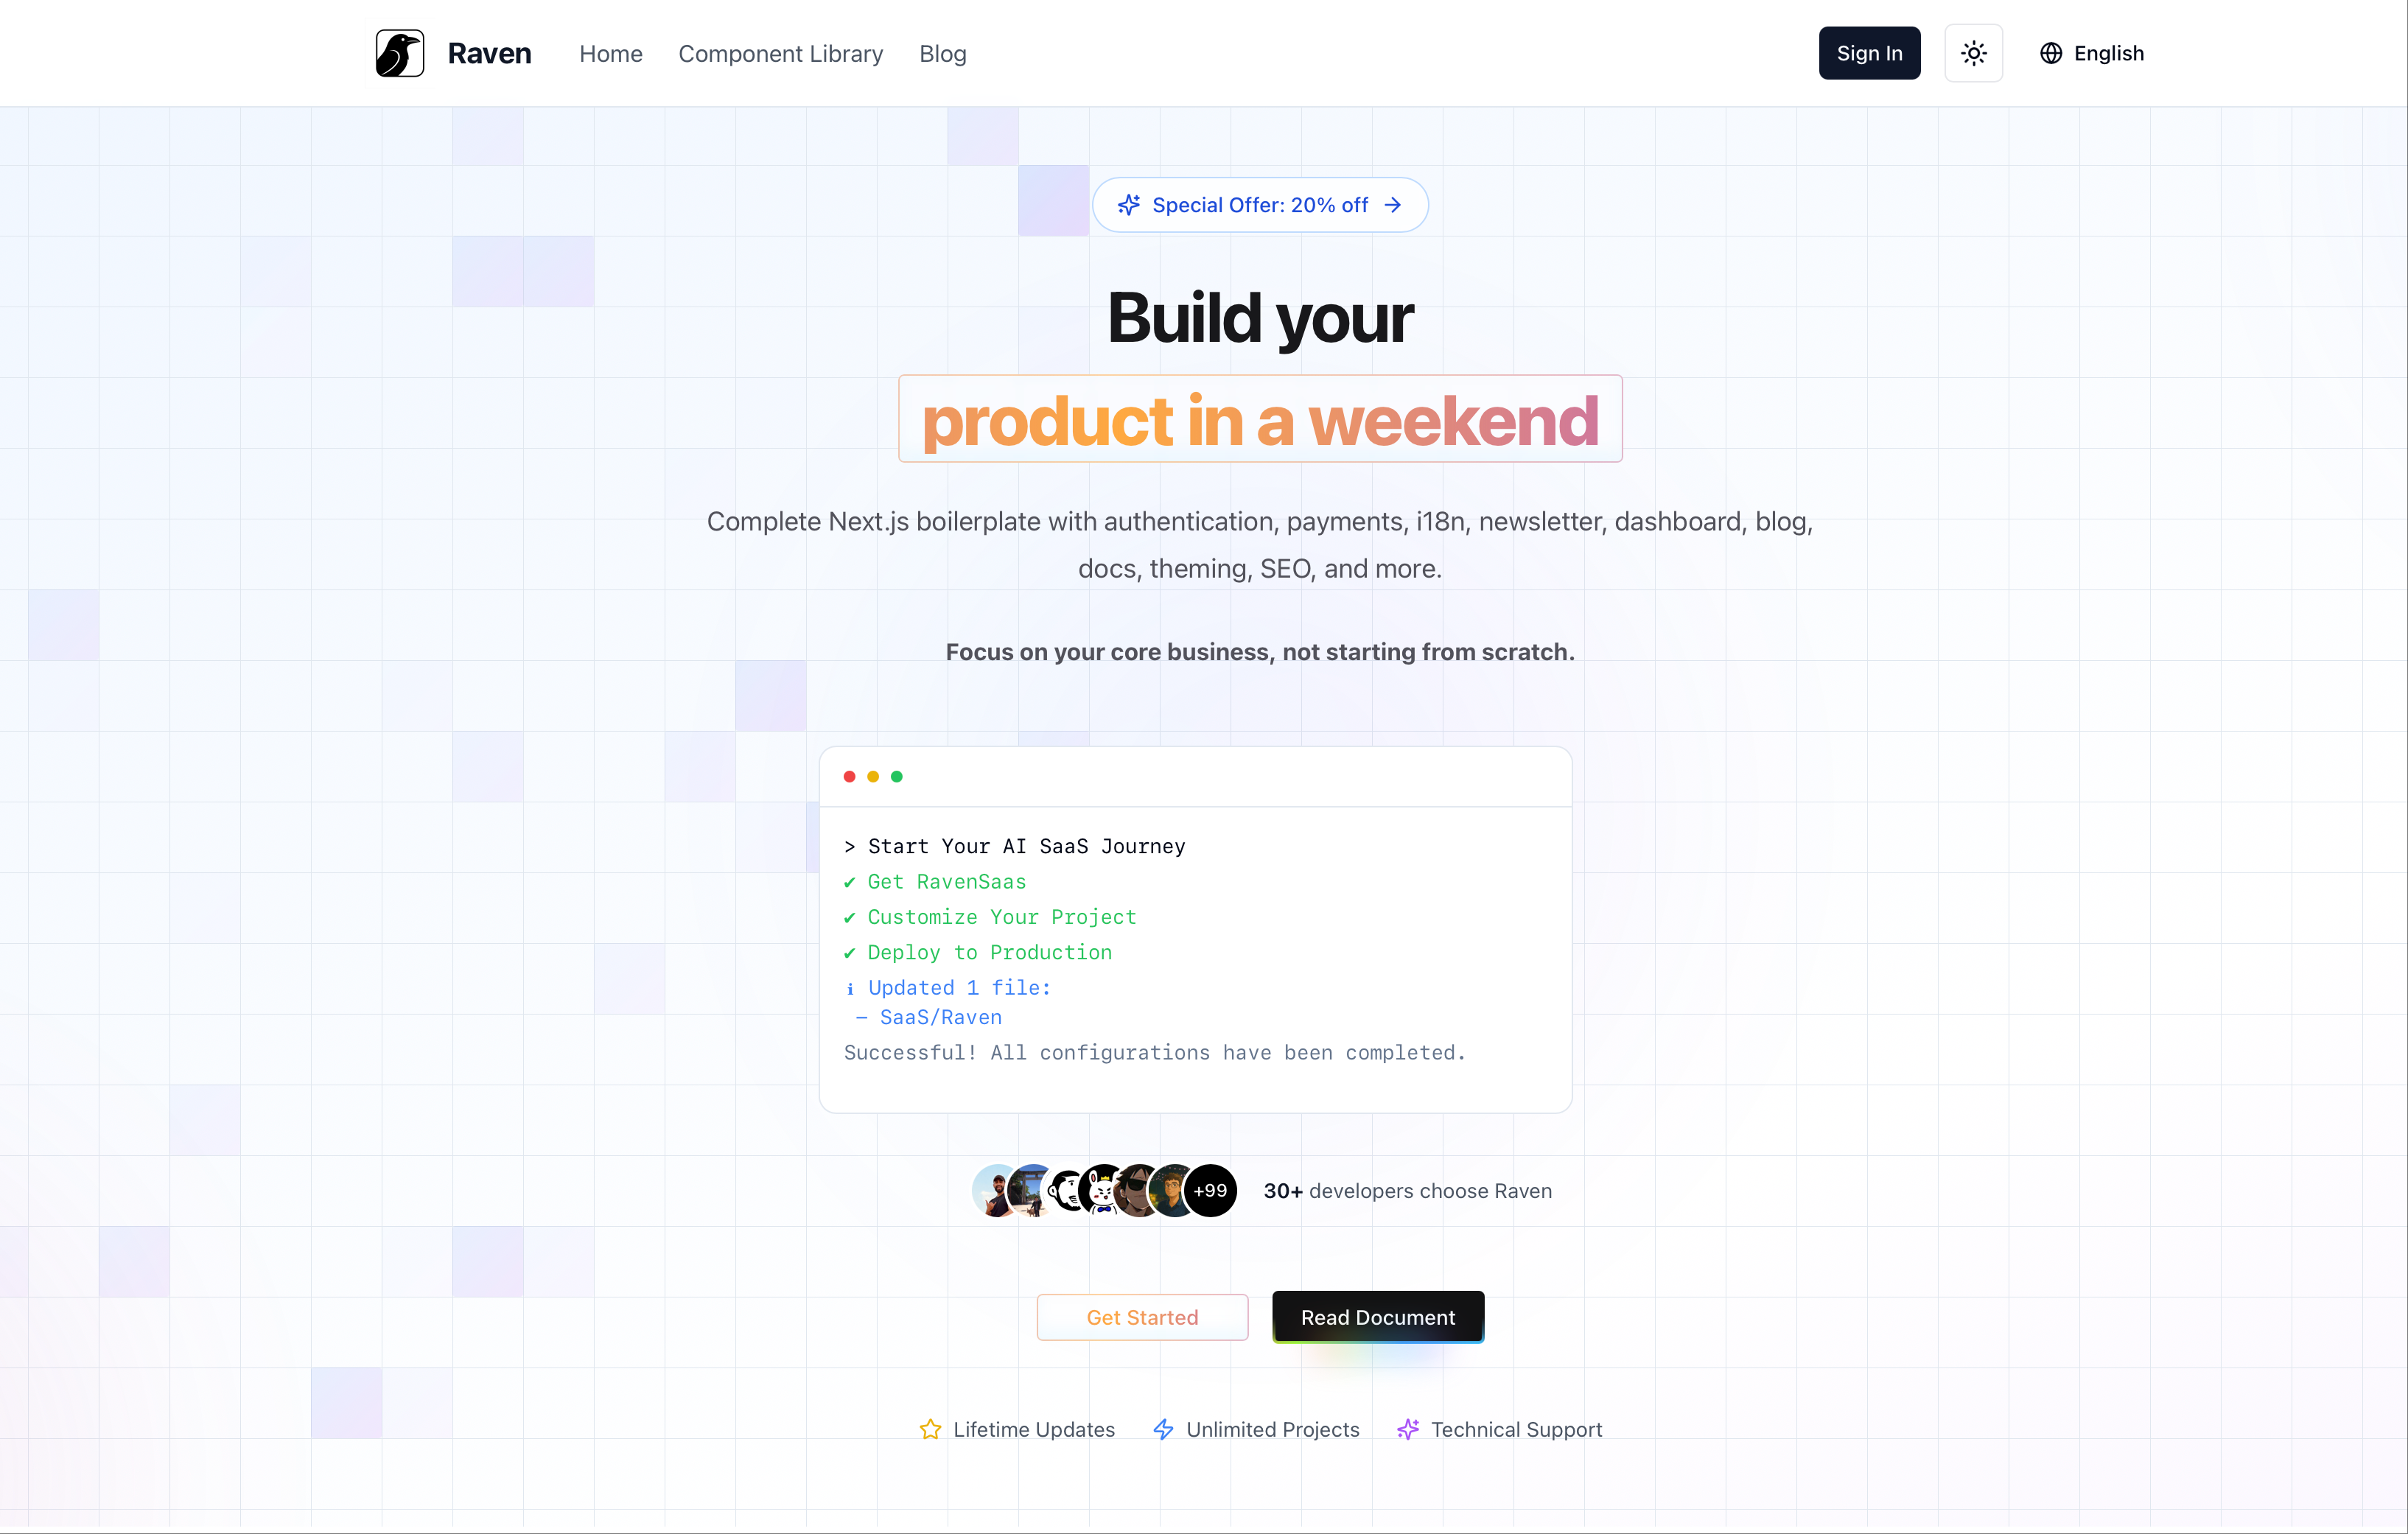
Customization
Modify Website Colors
- Choose a shadcn theme debugger
- 为您的项目创建主题配色方案
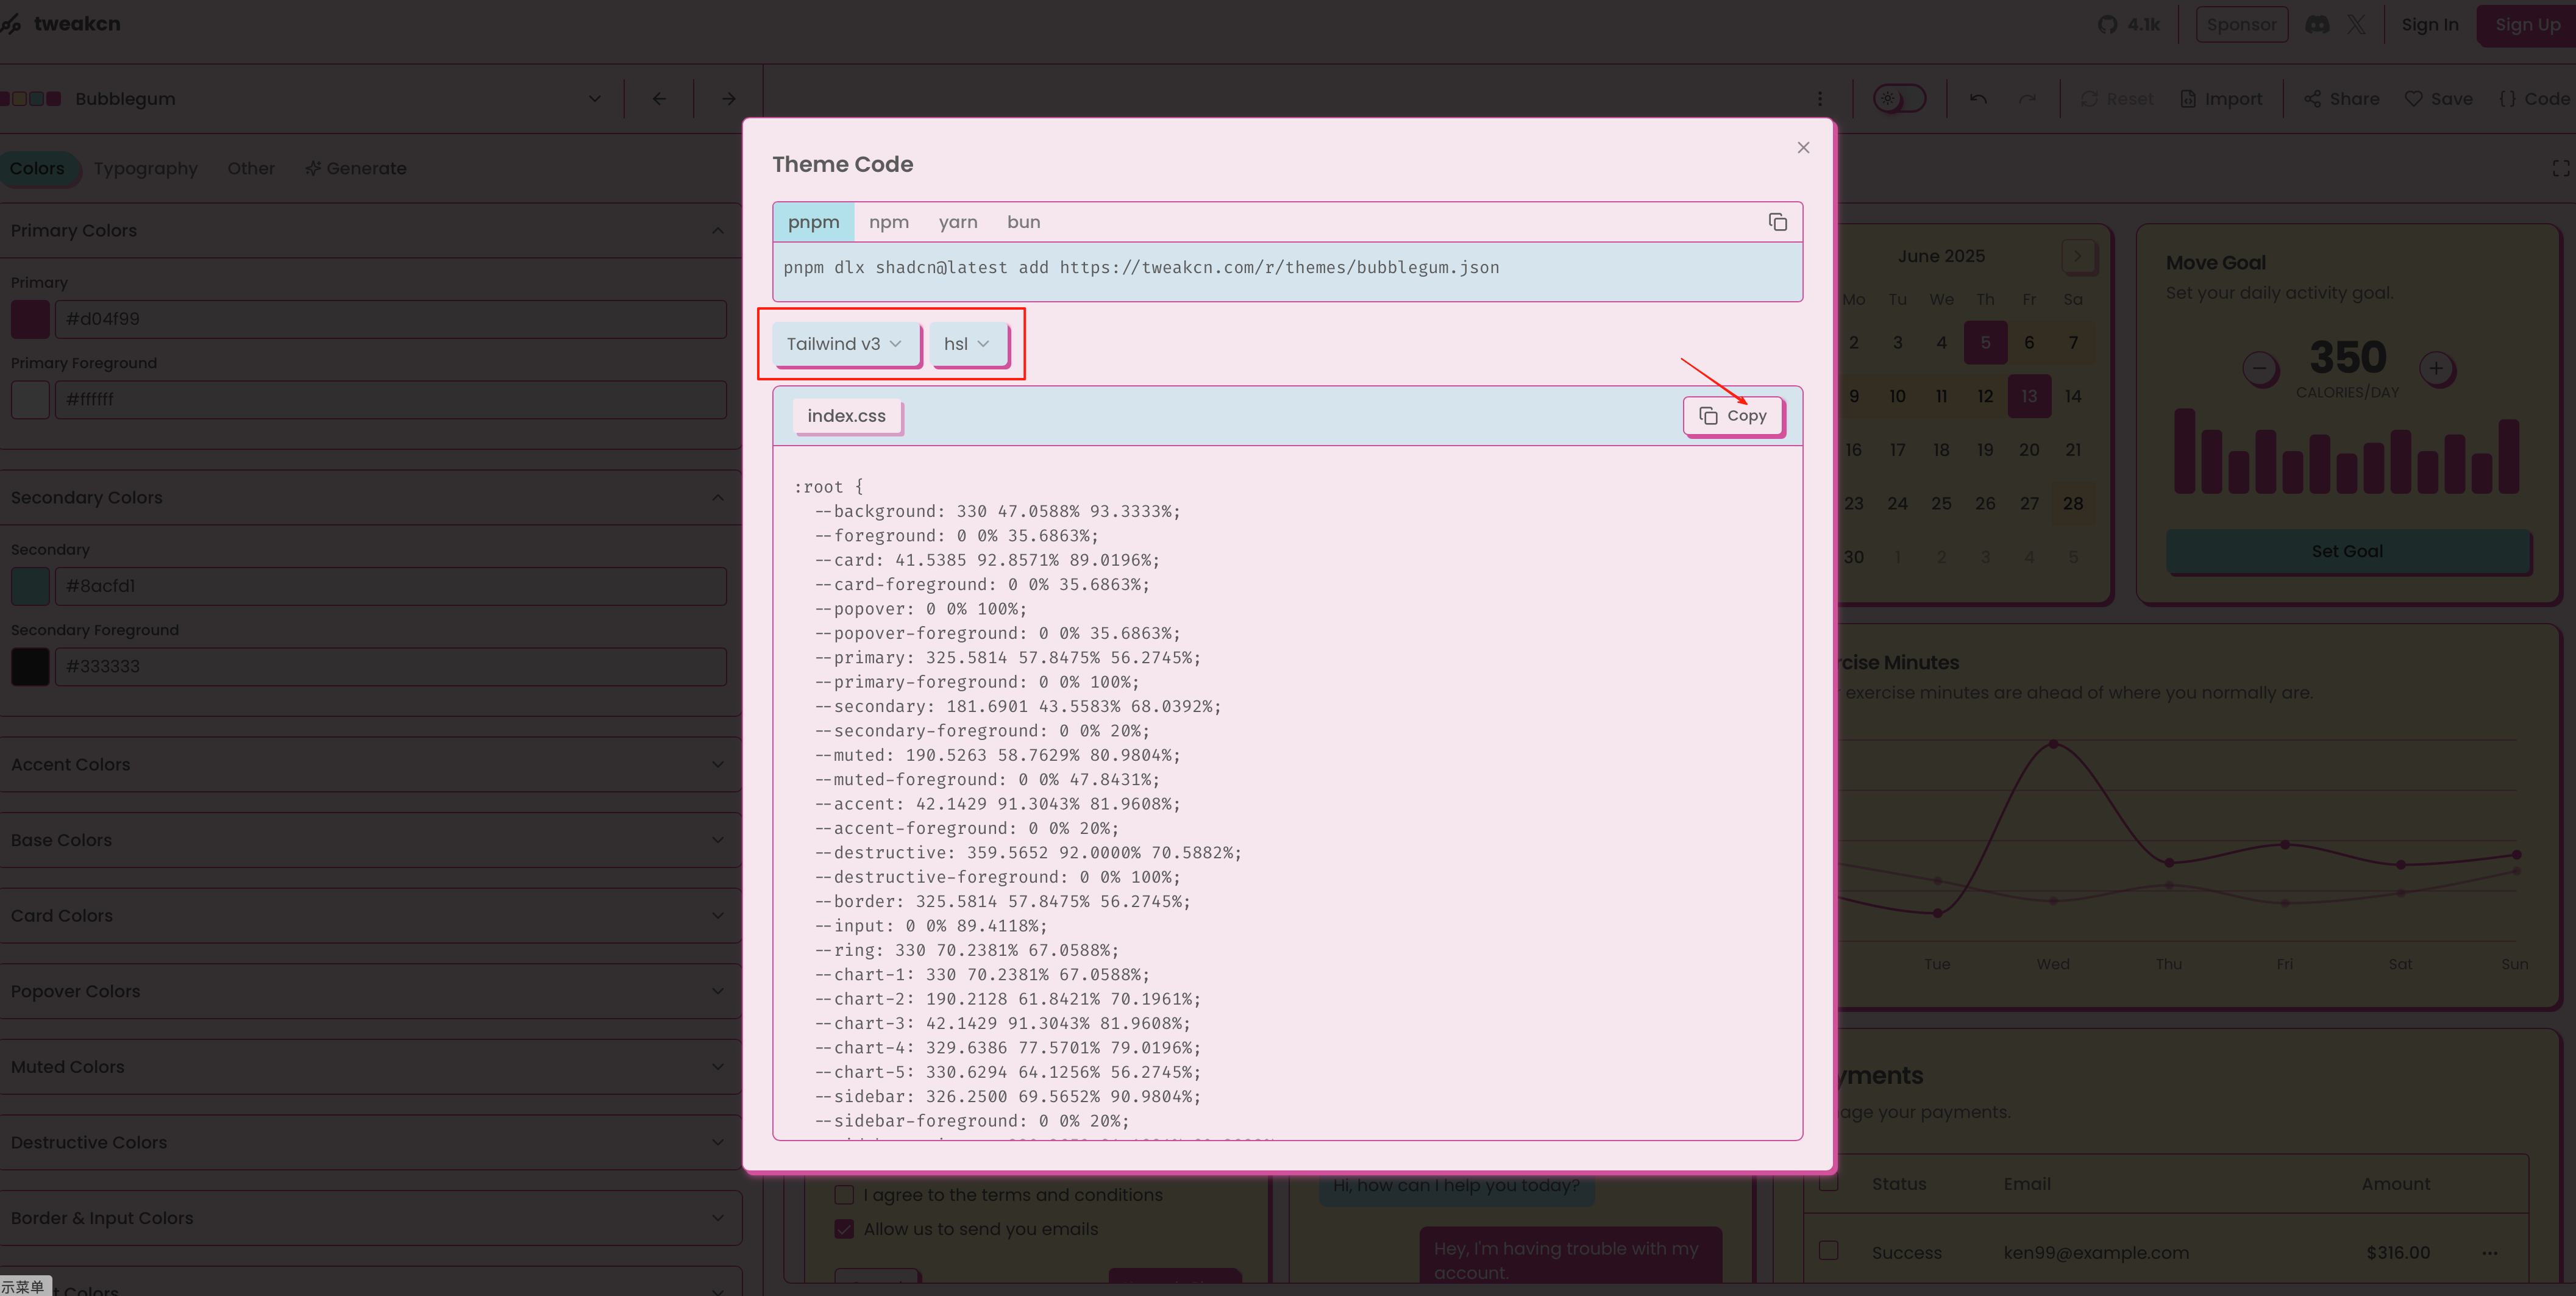
- 复制主题样式并粘贴到项目文件:
src/app/theme.css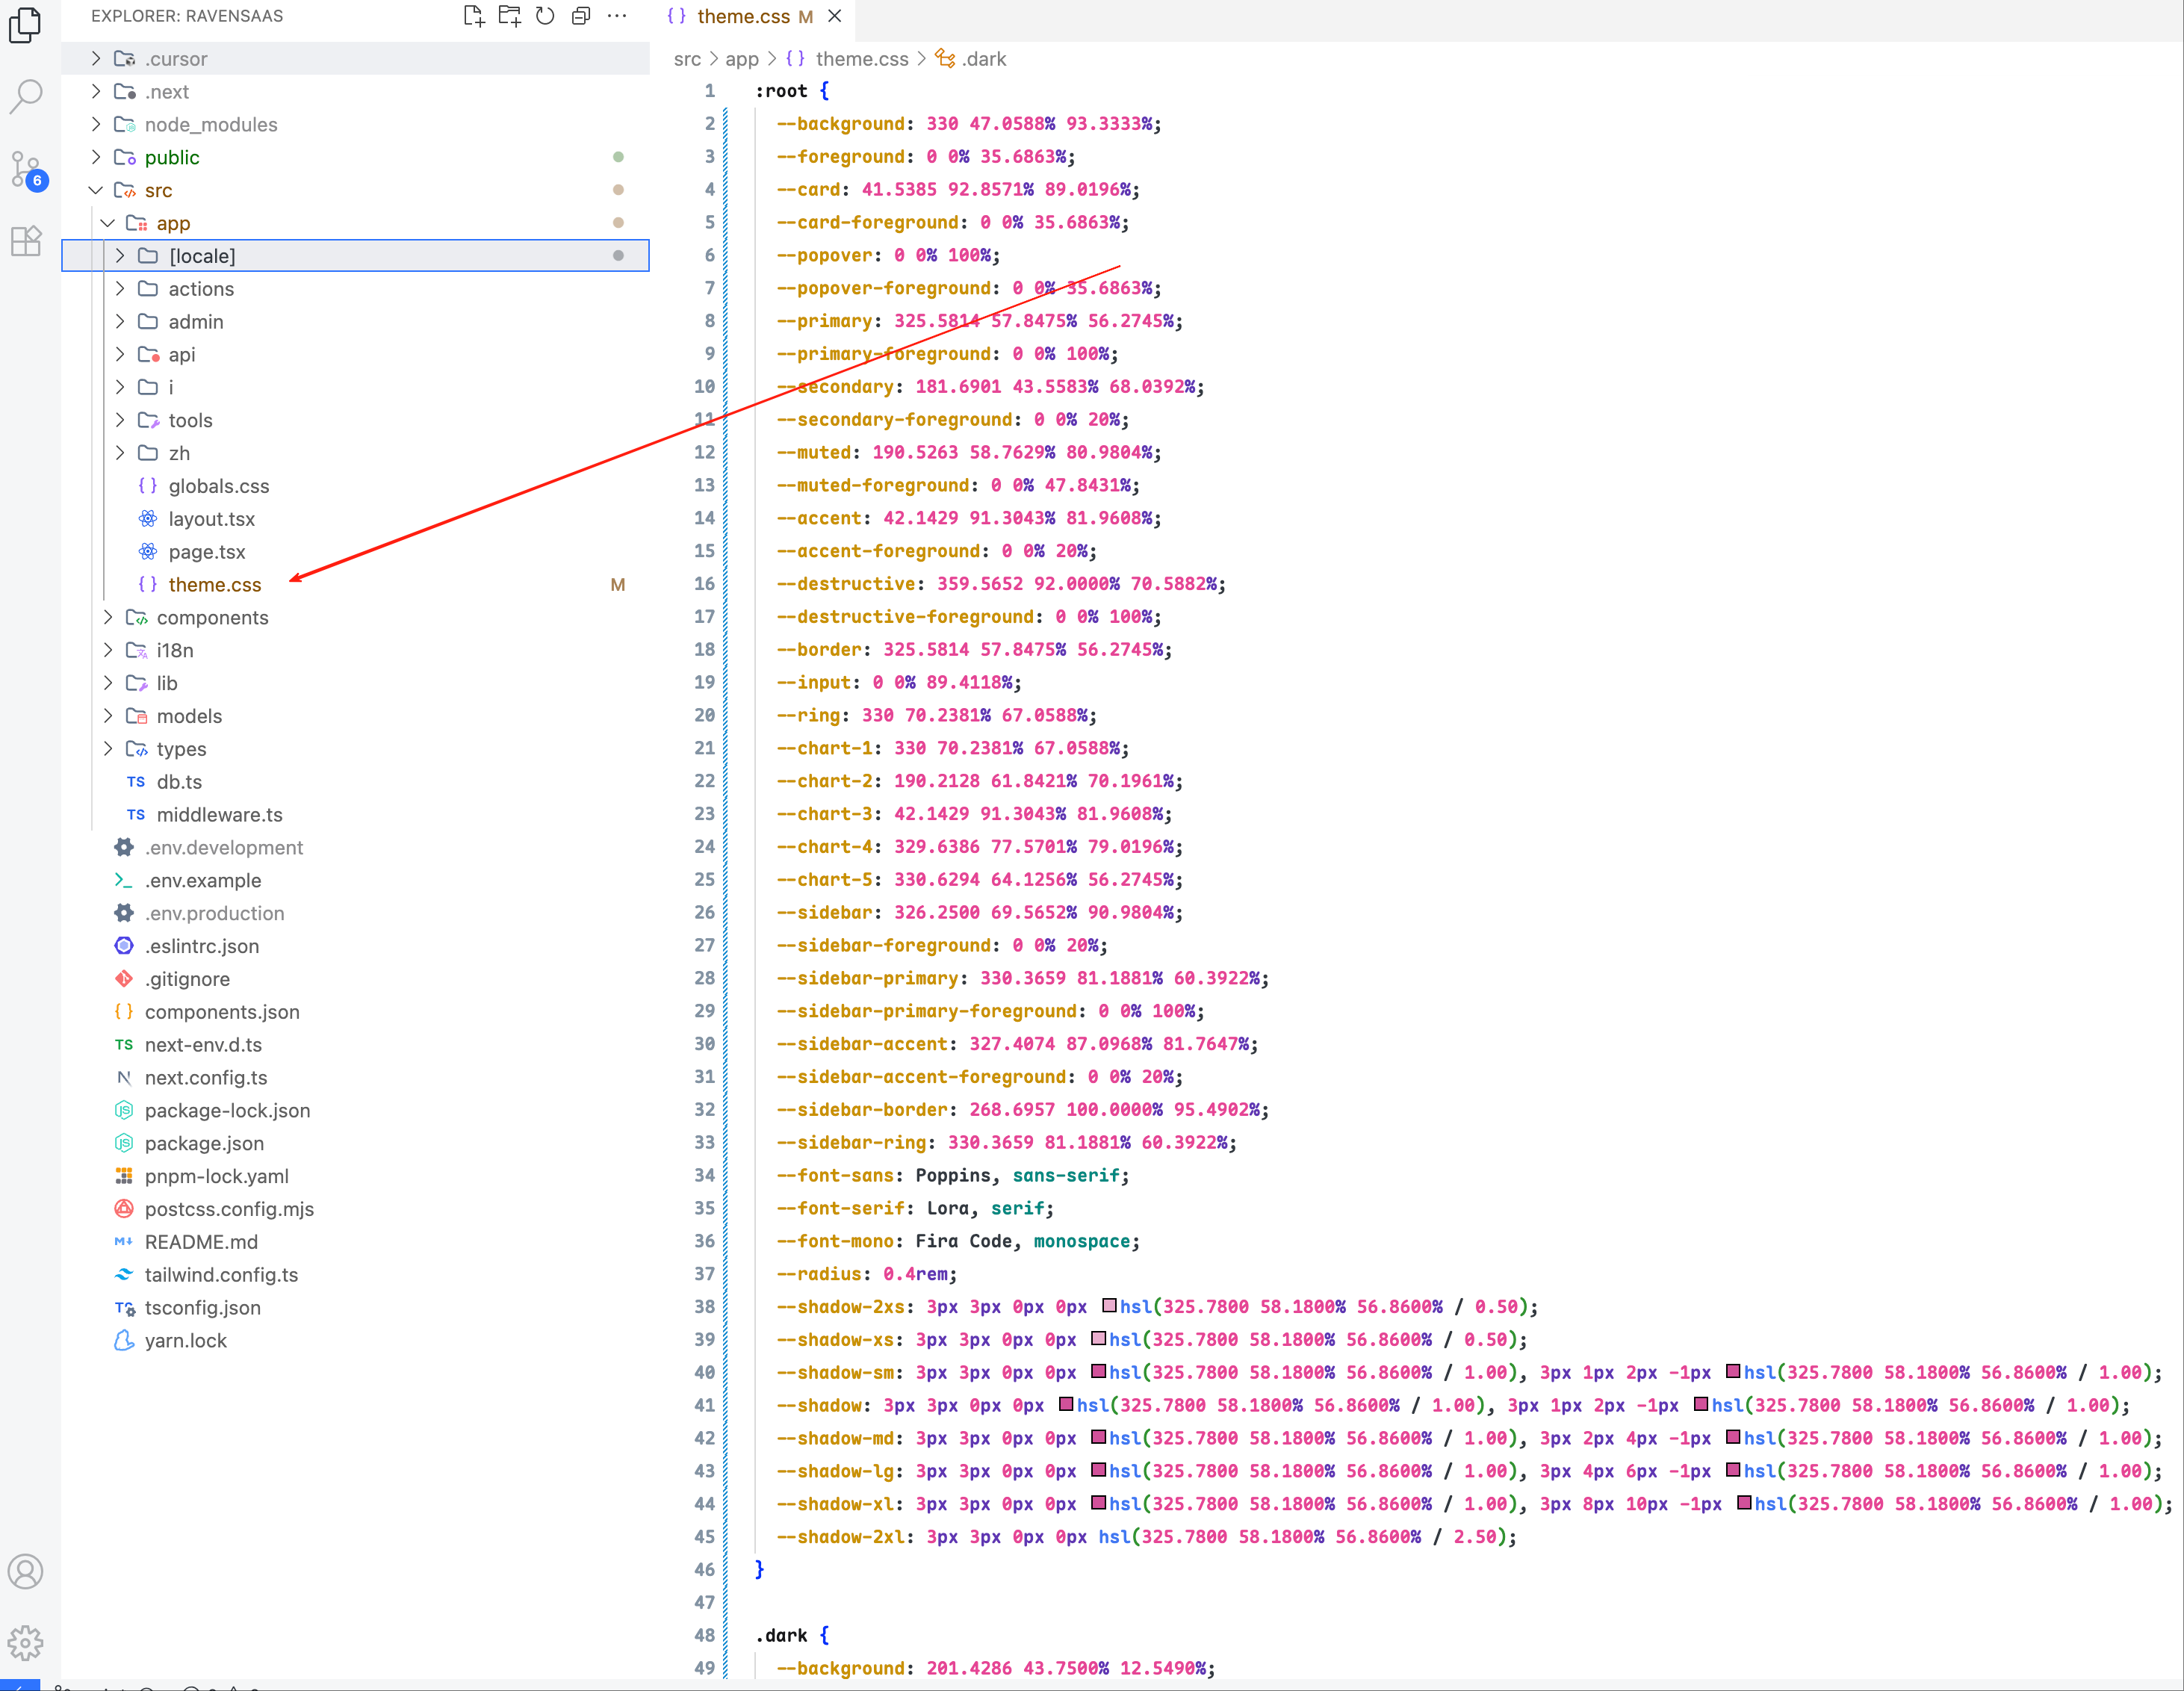
- 重新进入项目预览页面查看您的定制主题
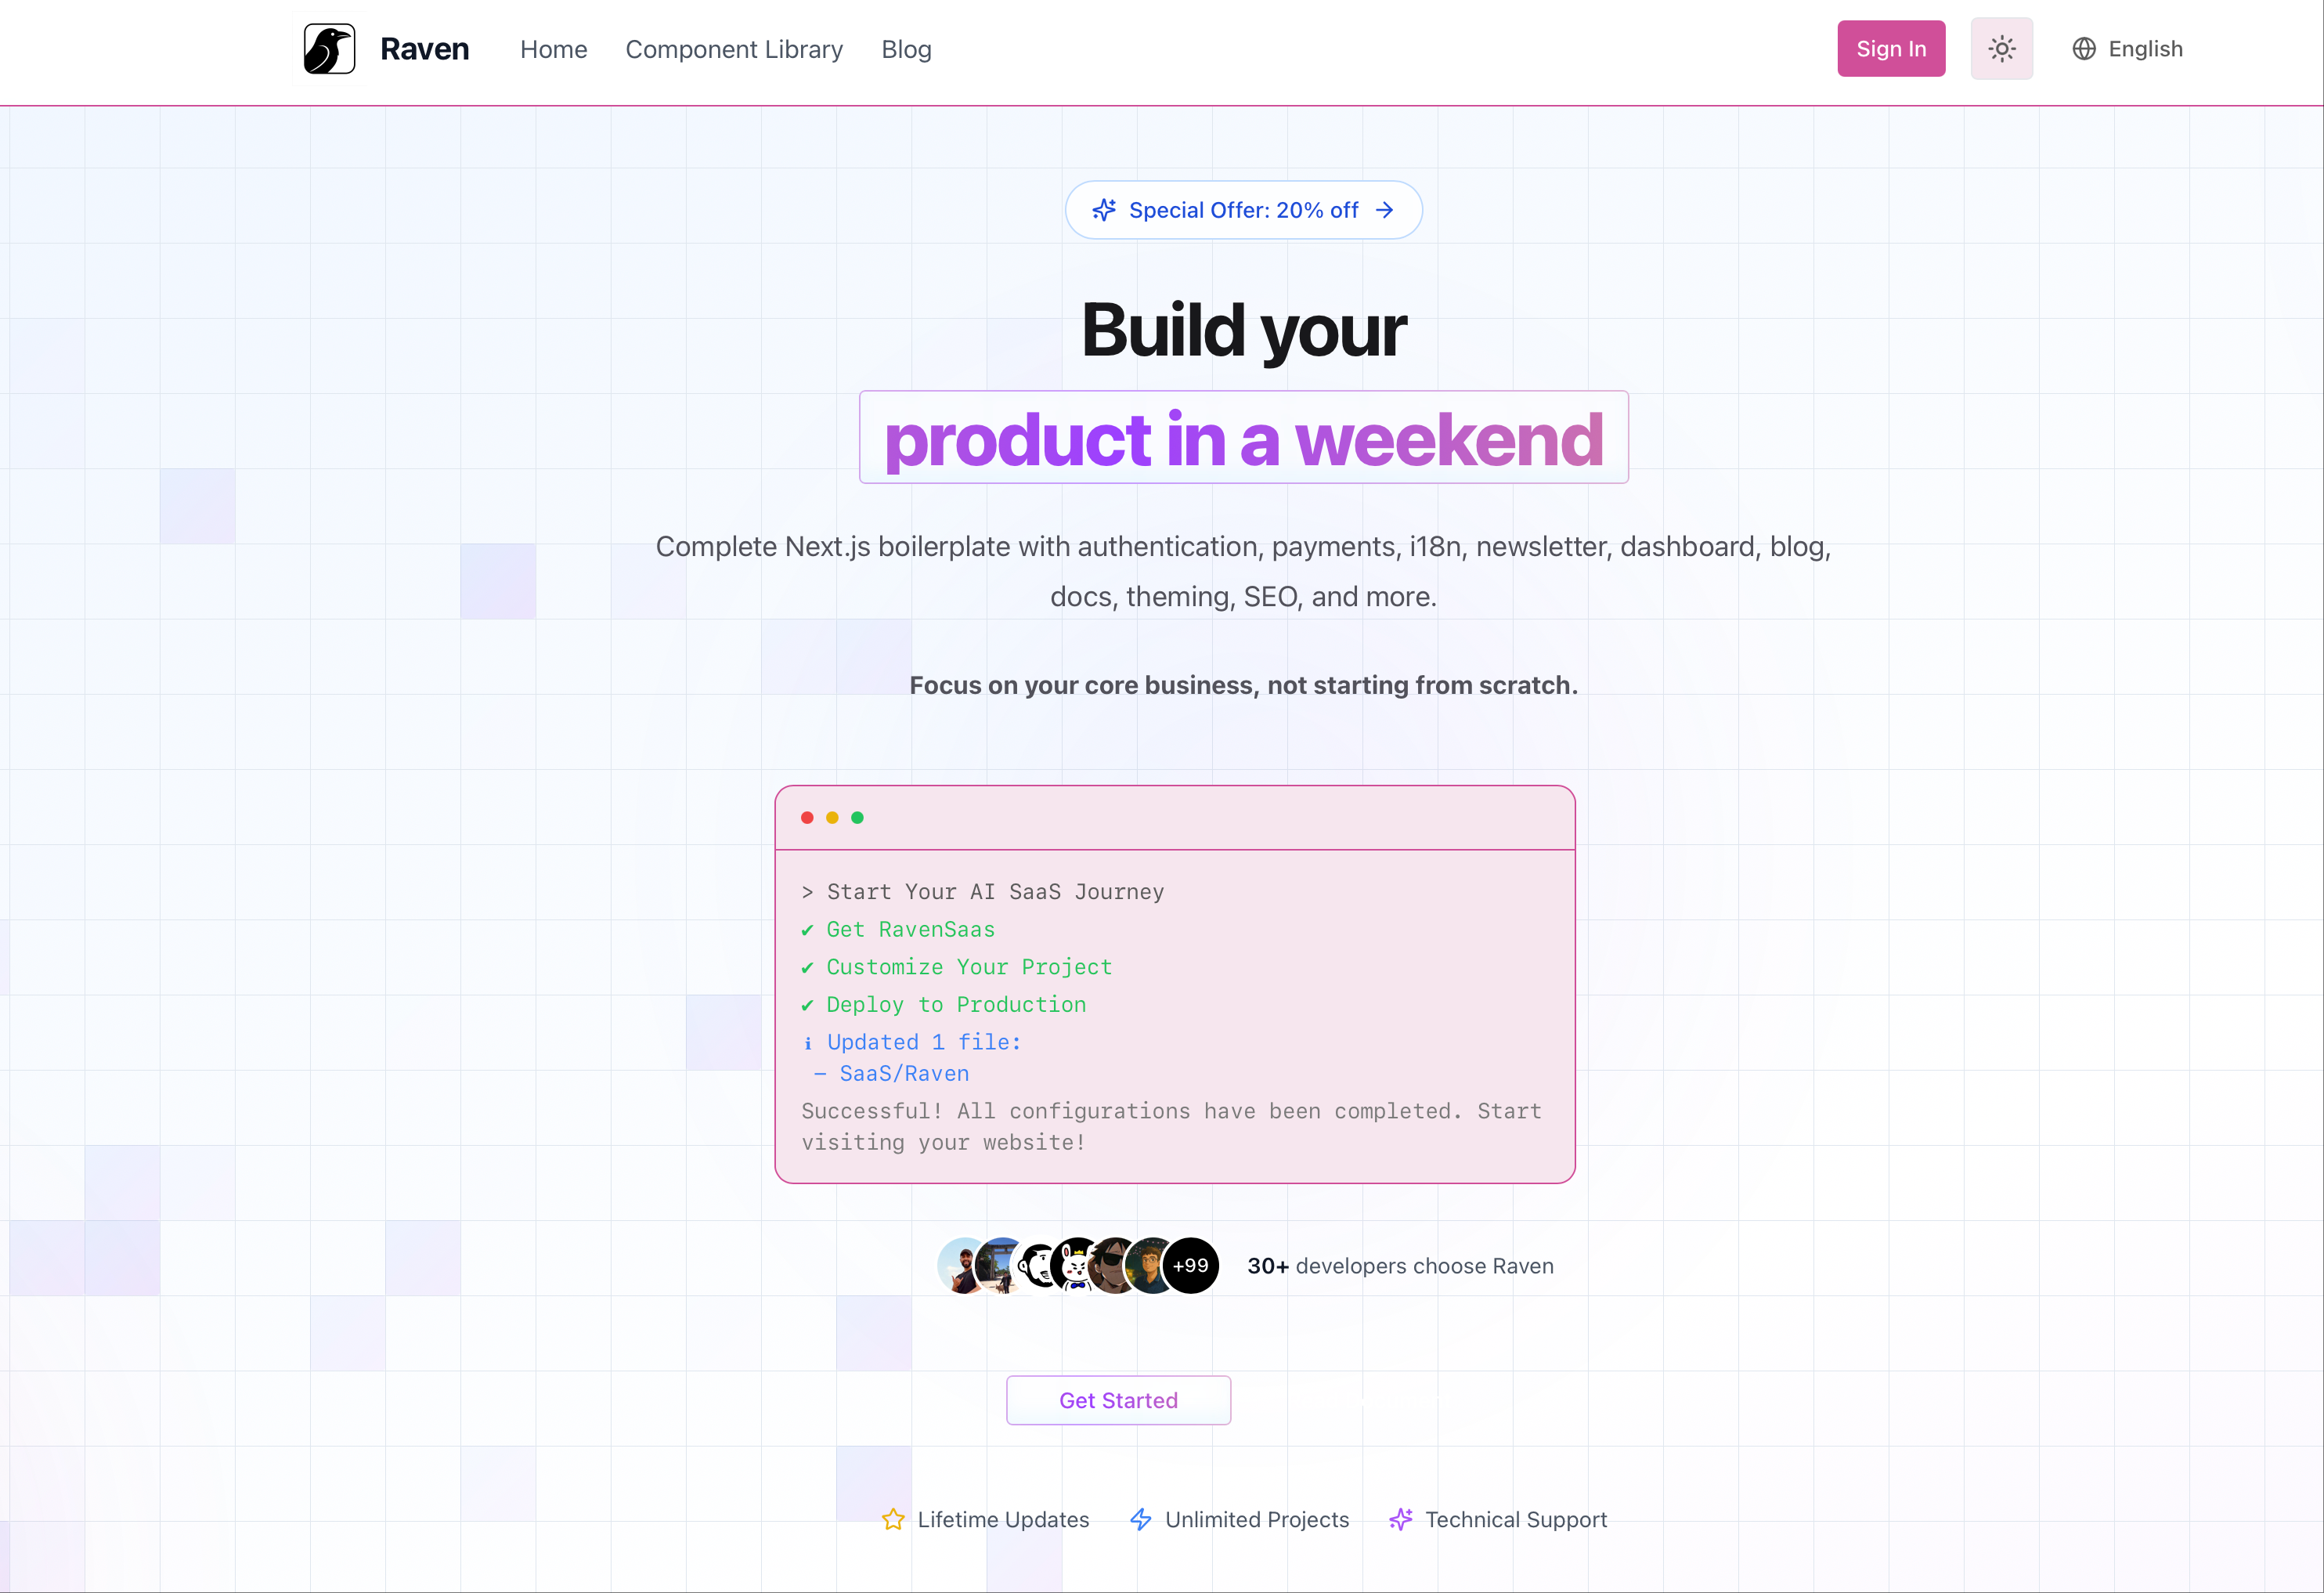
Modify Landing Page Content
- 打开落地页内容文件,使用 AI 辅助生成新的落地页内容
提示词示例:
Terminal1I want to build a landing page for my product named "Flux AI Image Generator", please update the landing page json file, content reference @Web @https://www.flux.ai/
- 应用 AI 生成的新落地页内容,手动调整并预览新落地页
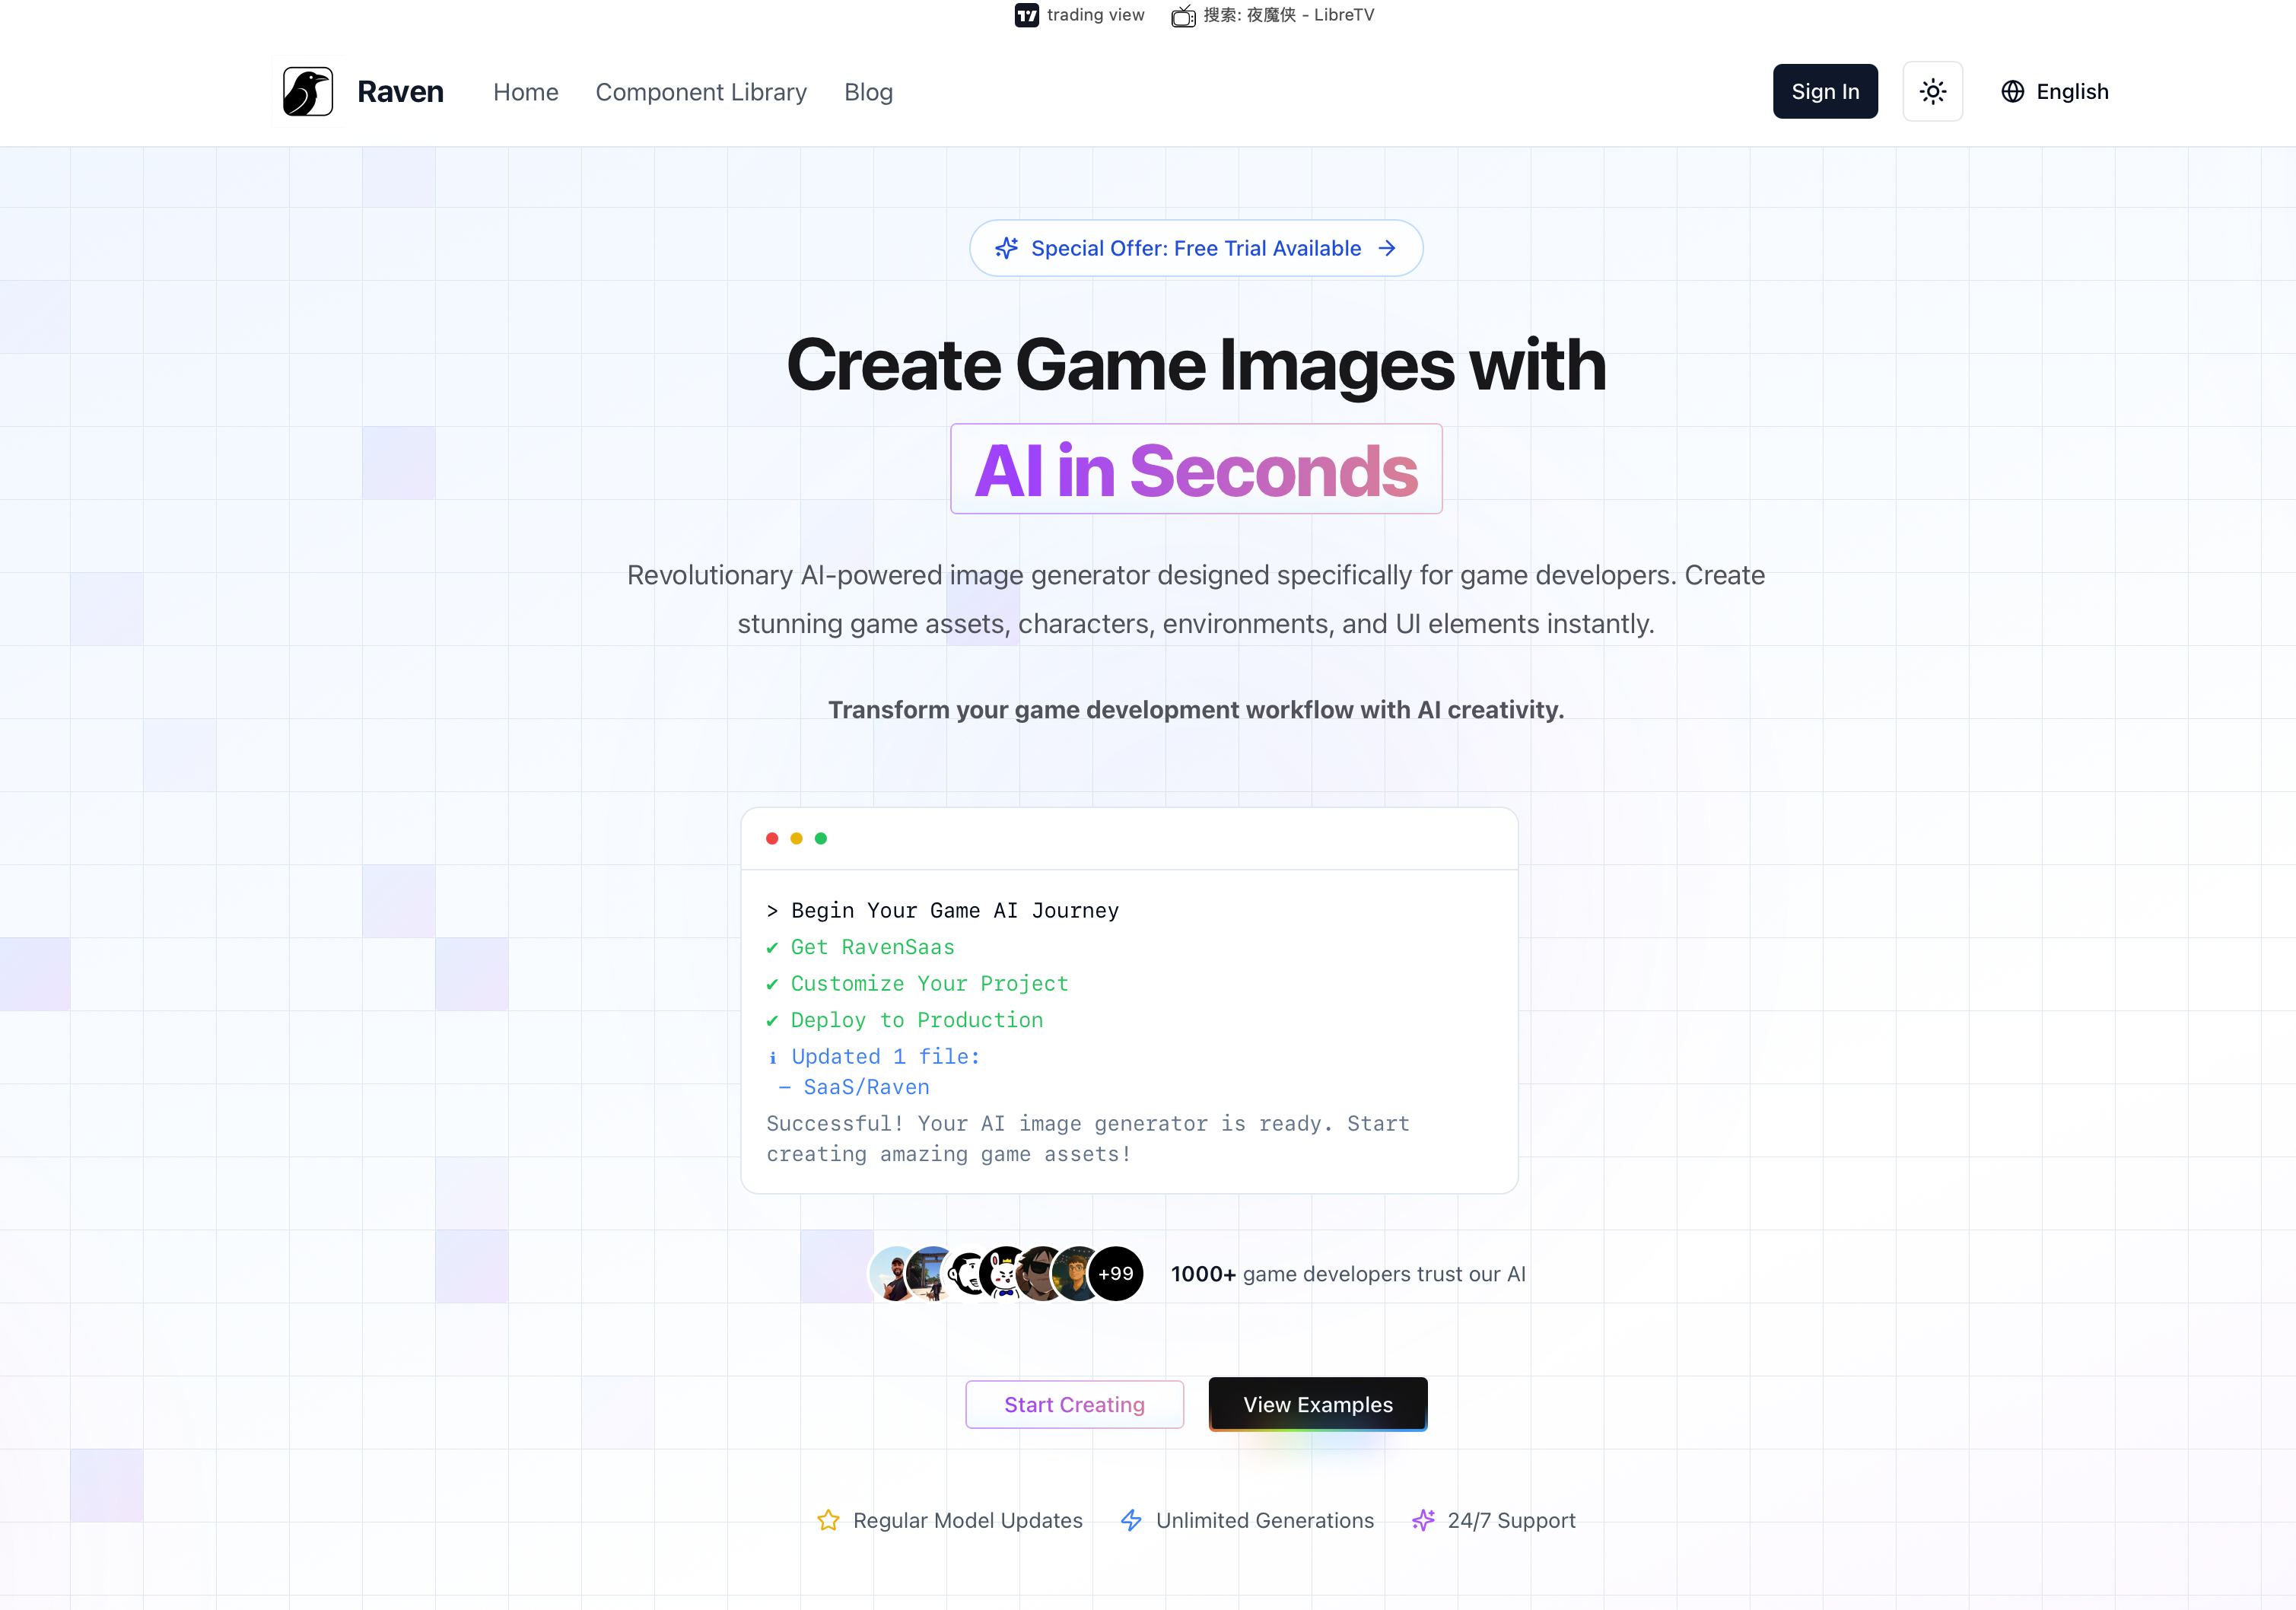
- 继续调整
src/i18n/messages下的其他 json 文件,使网页内容符合您的项目
Modify Multi-language Content
In the src/i18n/messages directory, configure page content through [locale].json files. Chinese and English are supported by default. You can see en.json and zh.json files in the src/i18n/messages/ directory. Please modify to content that fits your project before project release.
You can use AI to help generate content:
提示词示例:
1rewrite this json file with new content for my new project "Game AI", which is an AI Image Generator, with keywords "game ai, ai image generator"Modify Website Agreement
Before the website goes online, please update the website agreements in the src/app/privacy and src/app/terms directories according to the services provided by your website.
- Update Privacy Policy
In Cursor, generate new privacy policy content through prompts.
提示词示例:
Terminal1update privacy-policy according to landing page content @en.json with brand name "RavenSaaS", domain "ravensaas.io", contact email is "support@ravensaas.io"文件位置:
src/app/privacy/page.mdx - Update Terms of Service
In Cursor, generate new terms of service content through prompts.
提示词示例:
Terminal1update terms-of-service according to landing page content @en.json with brand name "RavenSaaS", domain "ravensaas.io", contact email is "support@ravensaas.io"文件位置:
src/app/terms/page.mdx
Modify Website Logo and Icon
Please generate Logo and Icon images for your website, and replace the public/logo.png and public/favicon.ico files respectively.
Modify Sitemap
Modify the sitemap according to the actual domain name of your website online and the page paths you want search engines to index.
文件位置:public/sitemap.xml,默认内容如下:
1<?xml version='1.0' encoding='utf-8' standalone='yes'?>
2<urlset xmlns="http://www.sitemaps.org/schemas/sitemap/0.9">
3  <url>
4    <loc>https://ravensaas.io/</loc>
5    <lastmod>2024-12-24T10:00:00+00:00</lastmod>
6  </url>
7</urlset>
Modify Configuration Content
According to actual needs, modify environment variables in configuration files to enable data storage / login / data analysis / payment and other functions
开发环境配置文件:.env.development,生产环境配置文件:.env.production
It is recommended to prioritize configuring the DATABASE_URL value and fill in a Postgres database connection address (including Supabase, Neon and other Serverless databases).
1# 站点名
2NEXT_PUBLIC_BRAND_NAME =
3
4# 开发环境环境变量
5NEXT_PUBLIC_WEB_URL = "http://localhost:3000"
6
7#NextAuth 配置
8NEXTAUTH_SECRET = 6UF9ydNcGE3i03714dZZqQT4BBuTT+gRjTMTFzbNda0=
9
10
11# Google OAuth 配置
12AUTH_GOOGLE_ID =
13NEXT_PUBLIC_AUTH_GOOGLE_ID =
14AUTH_GOOGLE_SECRET =
15NEXT_PUBLIC_AUTH_GOOGLE_ENABLED =
16NEXT_PUBLIC_AUTH_GOOGLE_ONE_TAP_ENABLED =
17
18# GitHub OAuth 配置
19AUTH_GITHUB_ID =
20AUTH_GITHUB_SECRET =
21NEXT_PUBLIC_AUTH_GITHUB_ENABLED =
22
23# 数据库配置 (如果使用)
24SUPABASE_URL =
25NEXT_PUBLIC_SUPABASE_URL =
26SUPABASE_ANON_KEY =
27NEXT_PUBLIC_SUPABASE_ANON_KEY =
28
29#谷歌统计
30NEXT_PUBLIC_GOOGLE_ANALYTICS_ID =
31
32# 配置云存储
33STORAGE_ENDPOINT = ""
34STORAGE_REGION = ""
35STORAGE_ACCESS_KEY =
36STORAGE_SECRET_KEY =
37STORAGE_BUCKET =
38STORAGE_DOMAIN =
39
40# stripe 支付
41STRIPE_PUBLIC_KEY =
42STRIPE_PRIVATE_KEY =
43NEXT_PUBLIC_PAY_SUCCESS_URL = "http://localhost:3000/my-orders"
44NEXT_PUBLIC_PAY_FAIL_URL = "http://localhost:3000/#pricing"
45NEXT_PUBLIC_PAY_CANCEL_URL = "http://localhost:3000/#pricing"
46
47# 管理员邮箱
48ADMIN_EMAILS =
49
50# AI
51# openai
52OPENAI_BASE_URL =
53OPENAI_API_KEY =
54
55# Replicate
56REPLICATE_API_TOKEN =
Pre-deployment Check
Before project release and deployment, please check whether the following content has been modified according to the actual situation.
- ✅ Modify website colors. src/app/theme.css
- ✅ Modify landing page content. src/i18n/pages/landing/*.json
- ✅ Modify multi-language content. src/i18n/messages/*.json
- ✅ Modify website agreements. src/app/privacy/page.mdx, src/app/terms/page.mdx
- ✅ Modify website Logo and Icon. public/logo.png, public/favicon.ico
- ✅ Modify sitemap. public/sitemap.xml
- ✅ Modify configuration content. .env.development, .env.production
Deployment
- Create GitHub Repository
Please be sure to choose a private repository, do not publicly publish RavenSaaS code, reject piracy.
- Submit modified project code to your project GitHub repositoryTerminal
1git remote set-url origin https://github.com/your-username/your-project-name.git 2git add . 3git commit -m "update landing page" 4git push origin main - Create a new project in Vercel console, import code repository, one-click deployment
- Wait for build completion, you can see your project in Vercel console
- Open domain to access your project
Last updated on January 5, 2025
