Deploy to Cloudflare
RavenSaaS uses the OpenNext framework and supports one-click deployment to Cloudflare.
Use cloudflare branch
When developing new projects with RavenSaaS, if you want to deploy to Cloudflare Workers, it is recommended to pull the cloudflare branch, which supports one-click deployment without additional modifications.
1git clone -b cloudflare git@github.com:raven-org/ravensaas-template.git my-ravensaas-projectDeployment Process
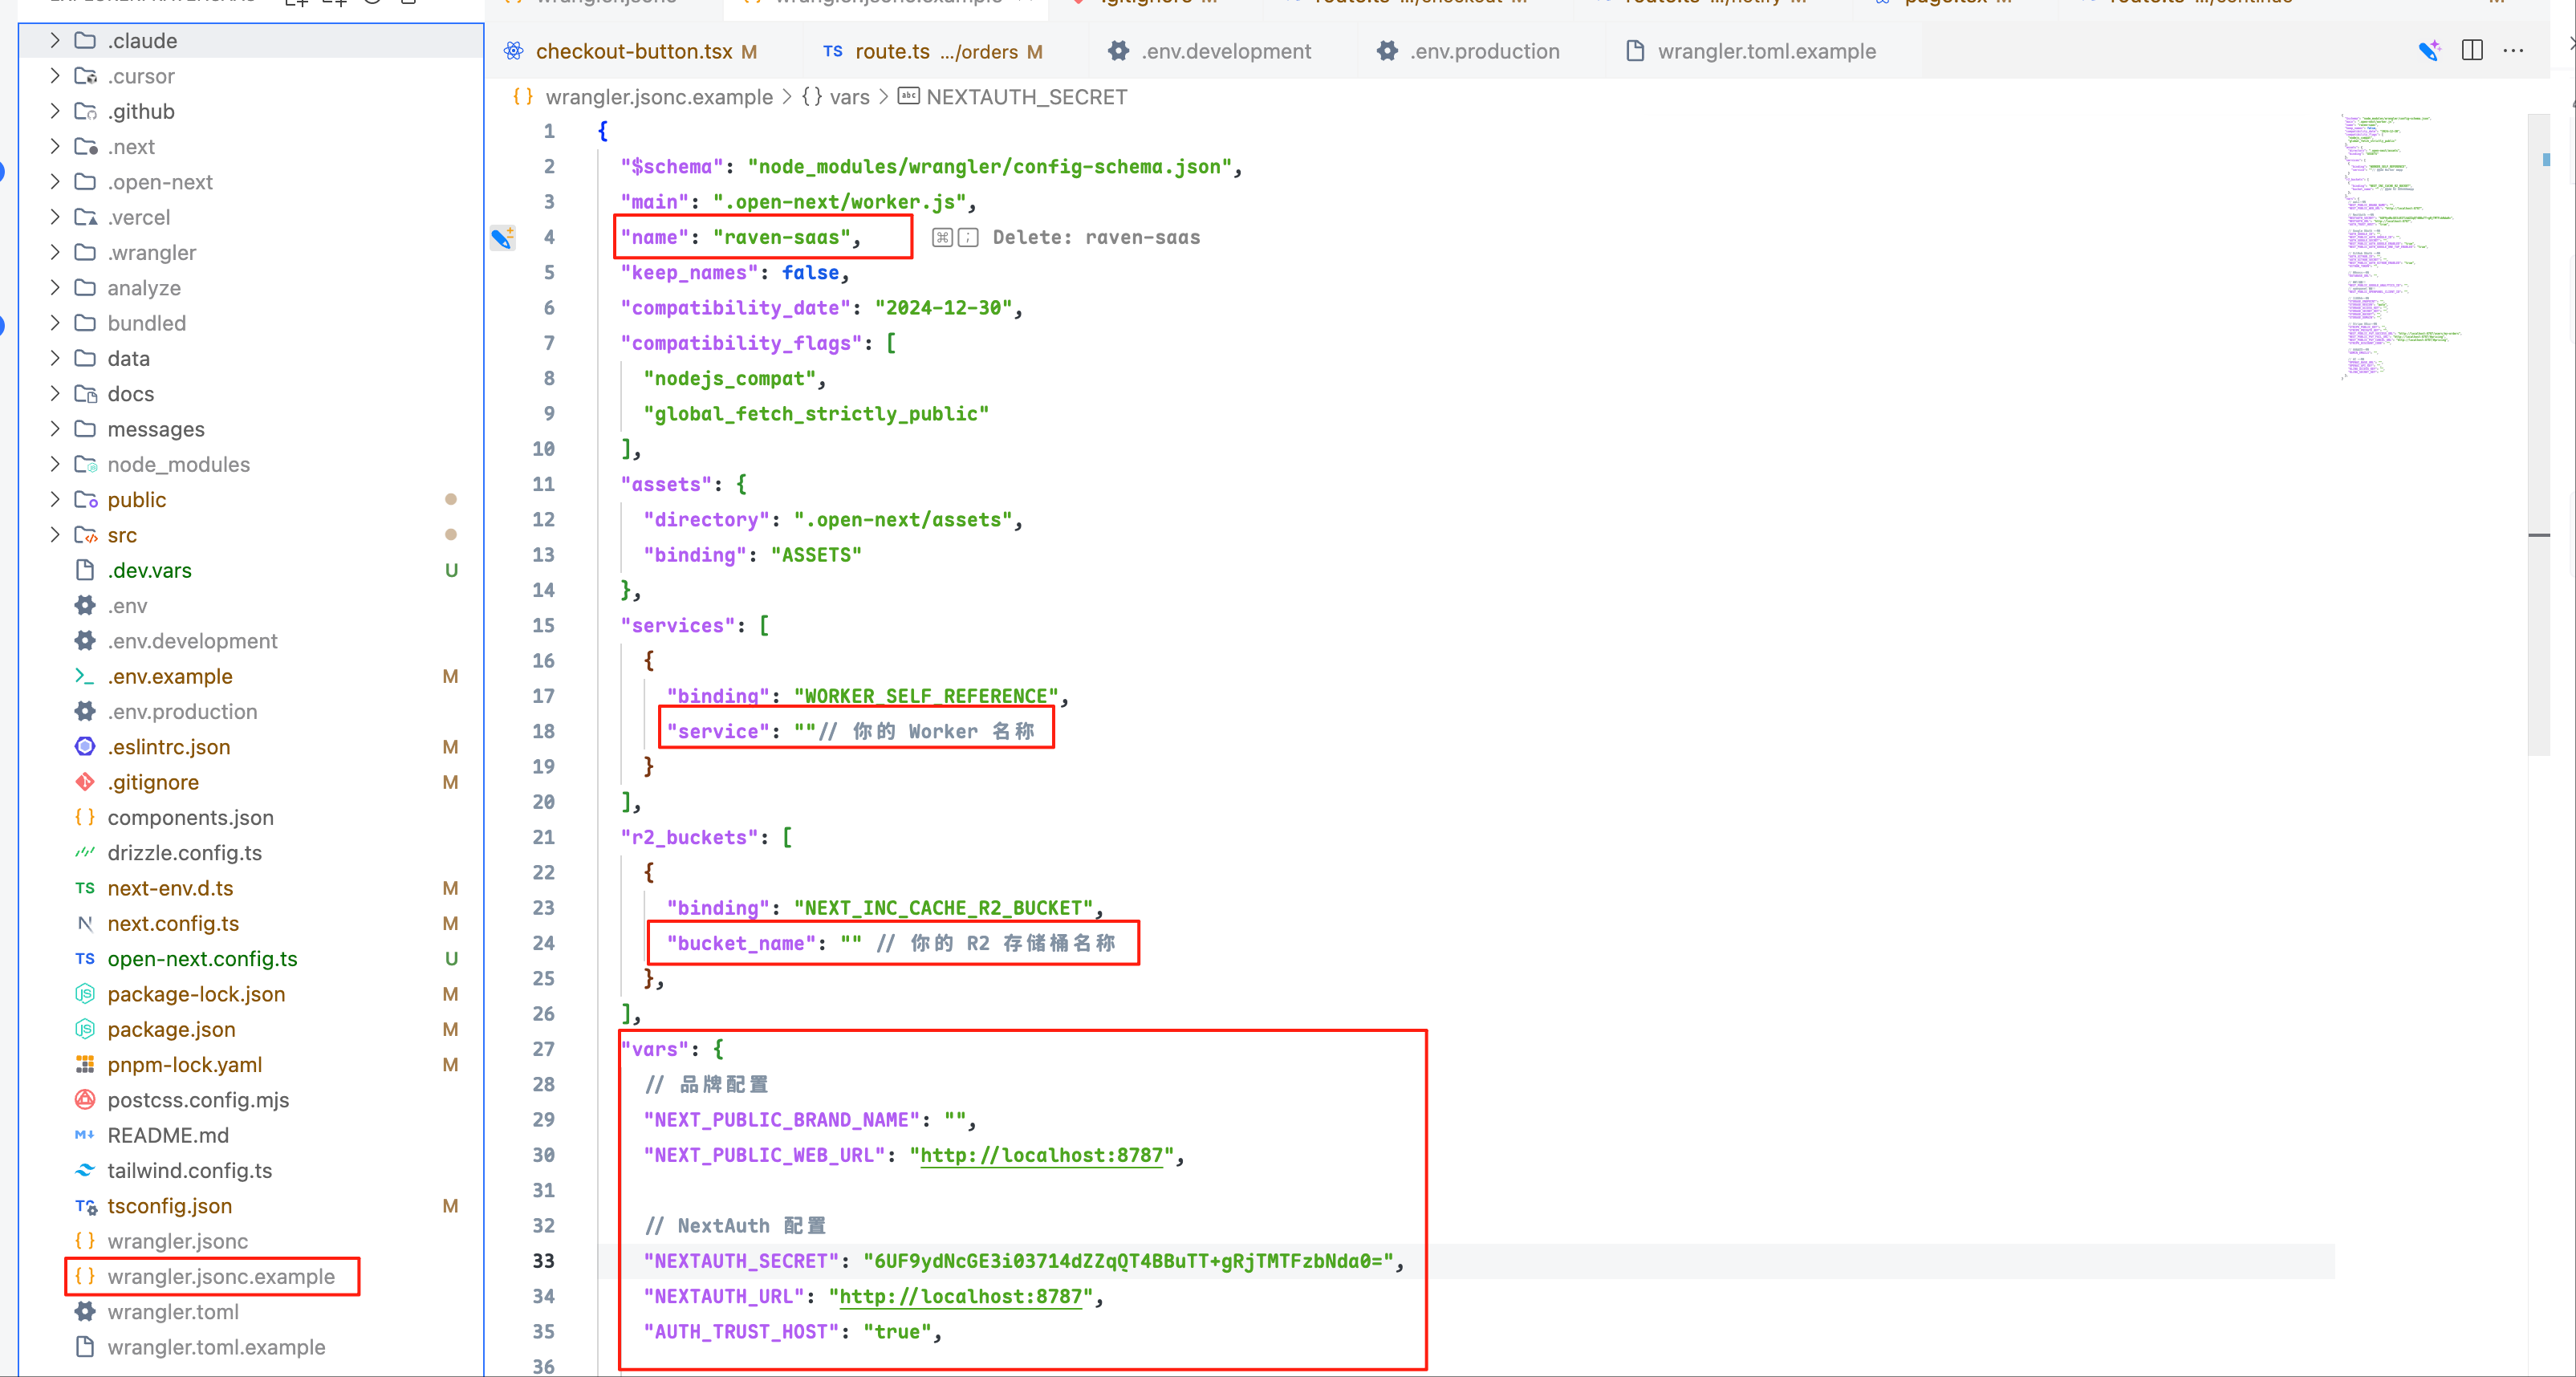
1. Create a production environment configuration file .wrangler.jsonc file in the project root directory
1cp wrangler.jsonc.example wrangler.jsoncModify the configuration in the .wrangler.jsonc file as needed: project domain, database, login authorization and other configurations
2. Create a wrangler.toml file in the project root directory
1cp wrangler.toml.example wrangler.tomlmodify the project name in the wrangler.toml file

4. Deploy to Cloudflare
Run the following command in the project root directory:
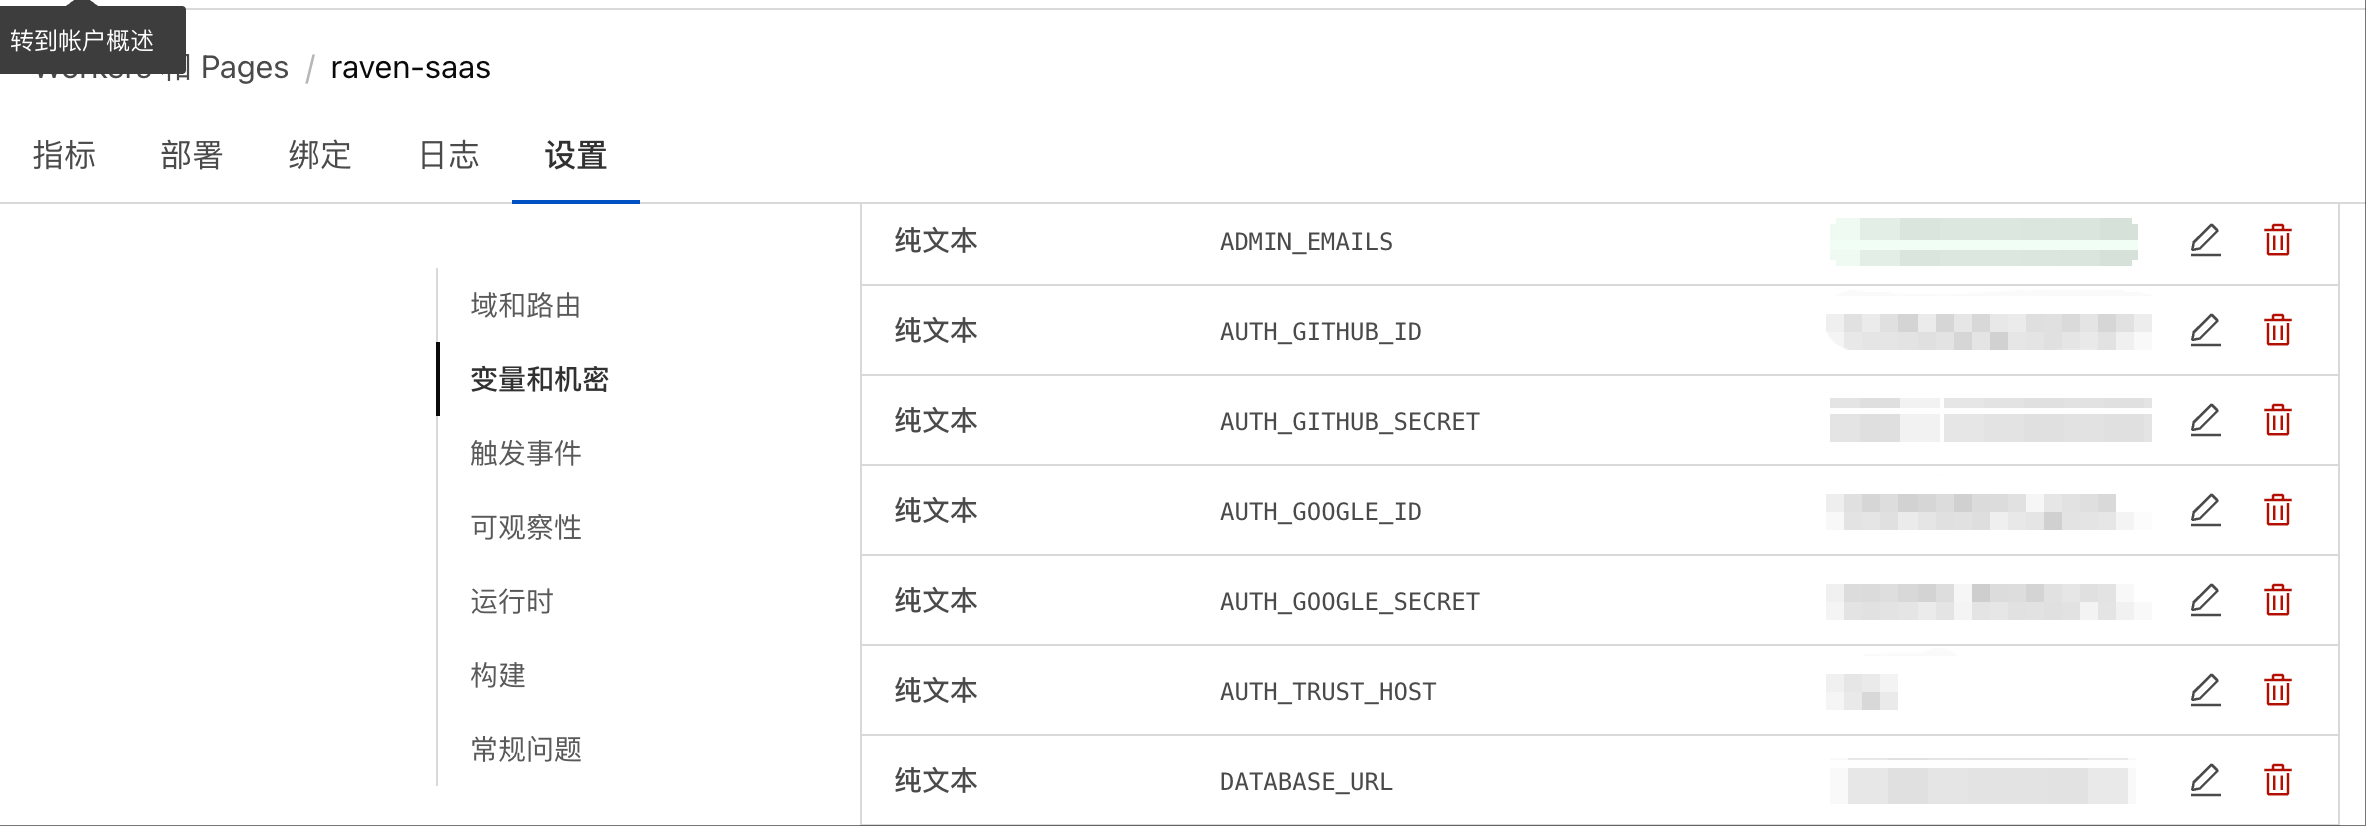
1npm run cf:buildFollow the prompts, enter the project name and branch name (main) to deploy, connect to your Cloudflare account, and then wait for deployment to complete.and the variables configured in the .wrangler.jsonc file will be displayed in the background.


5. Enter the Cloudflare console to see that the project has been successfully deployed

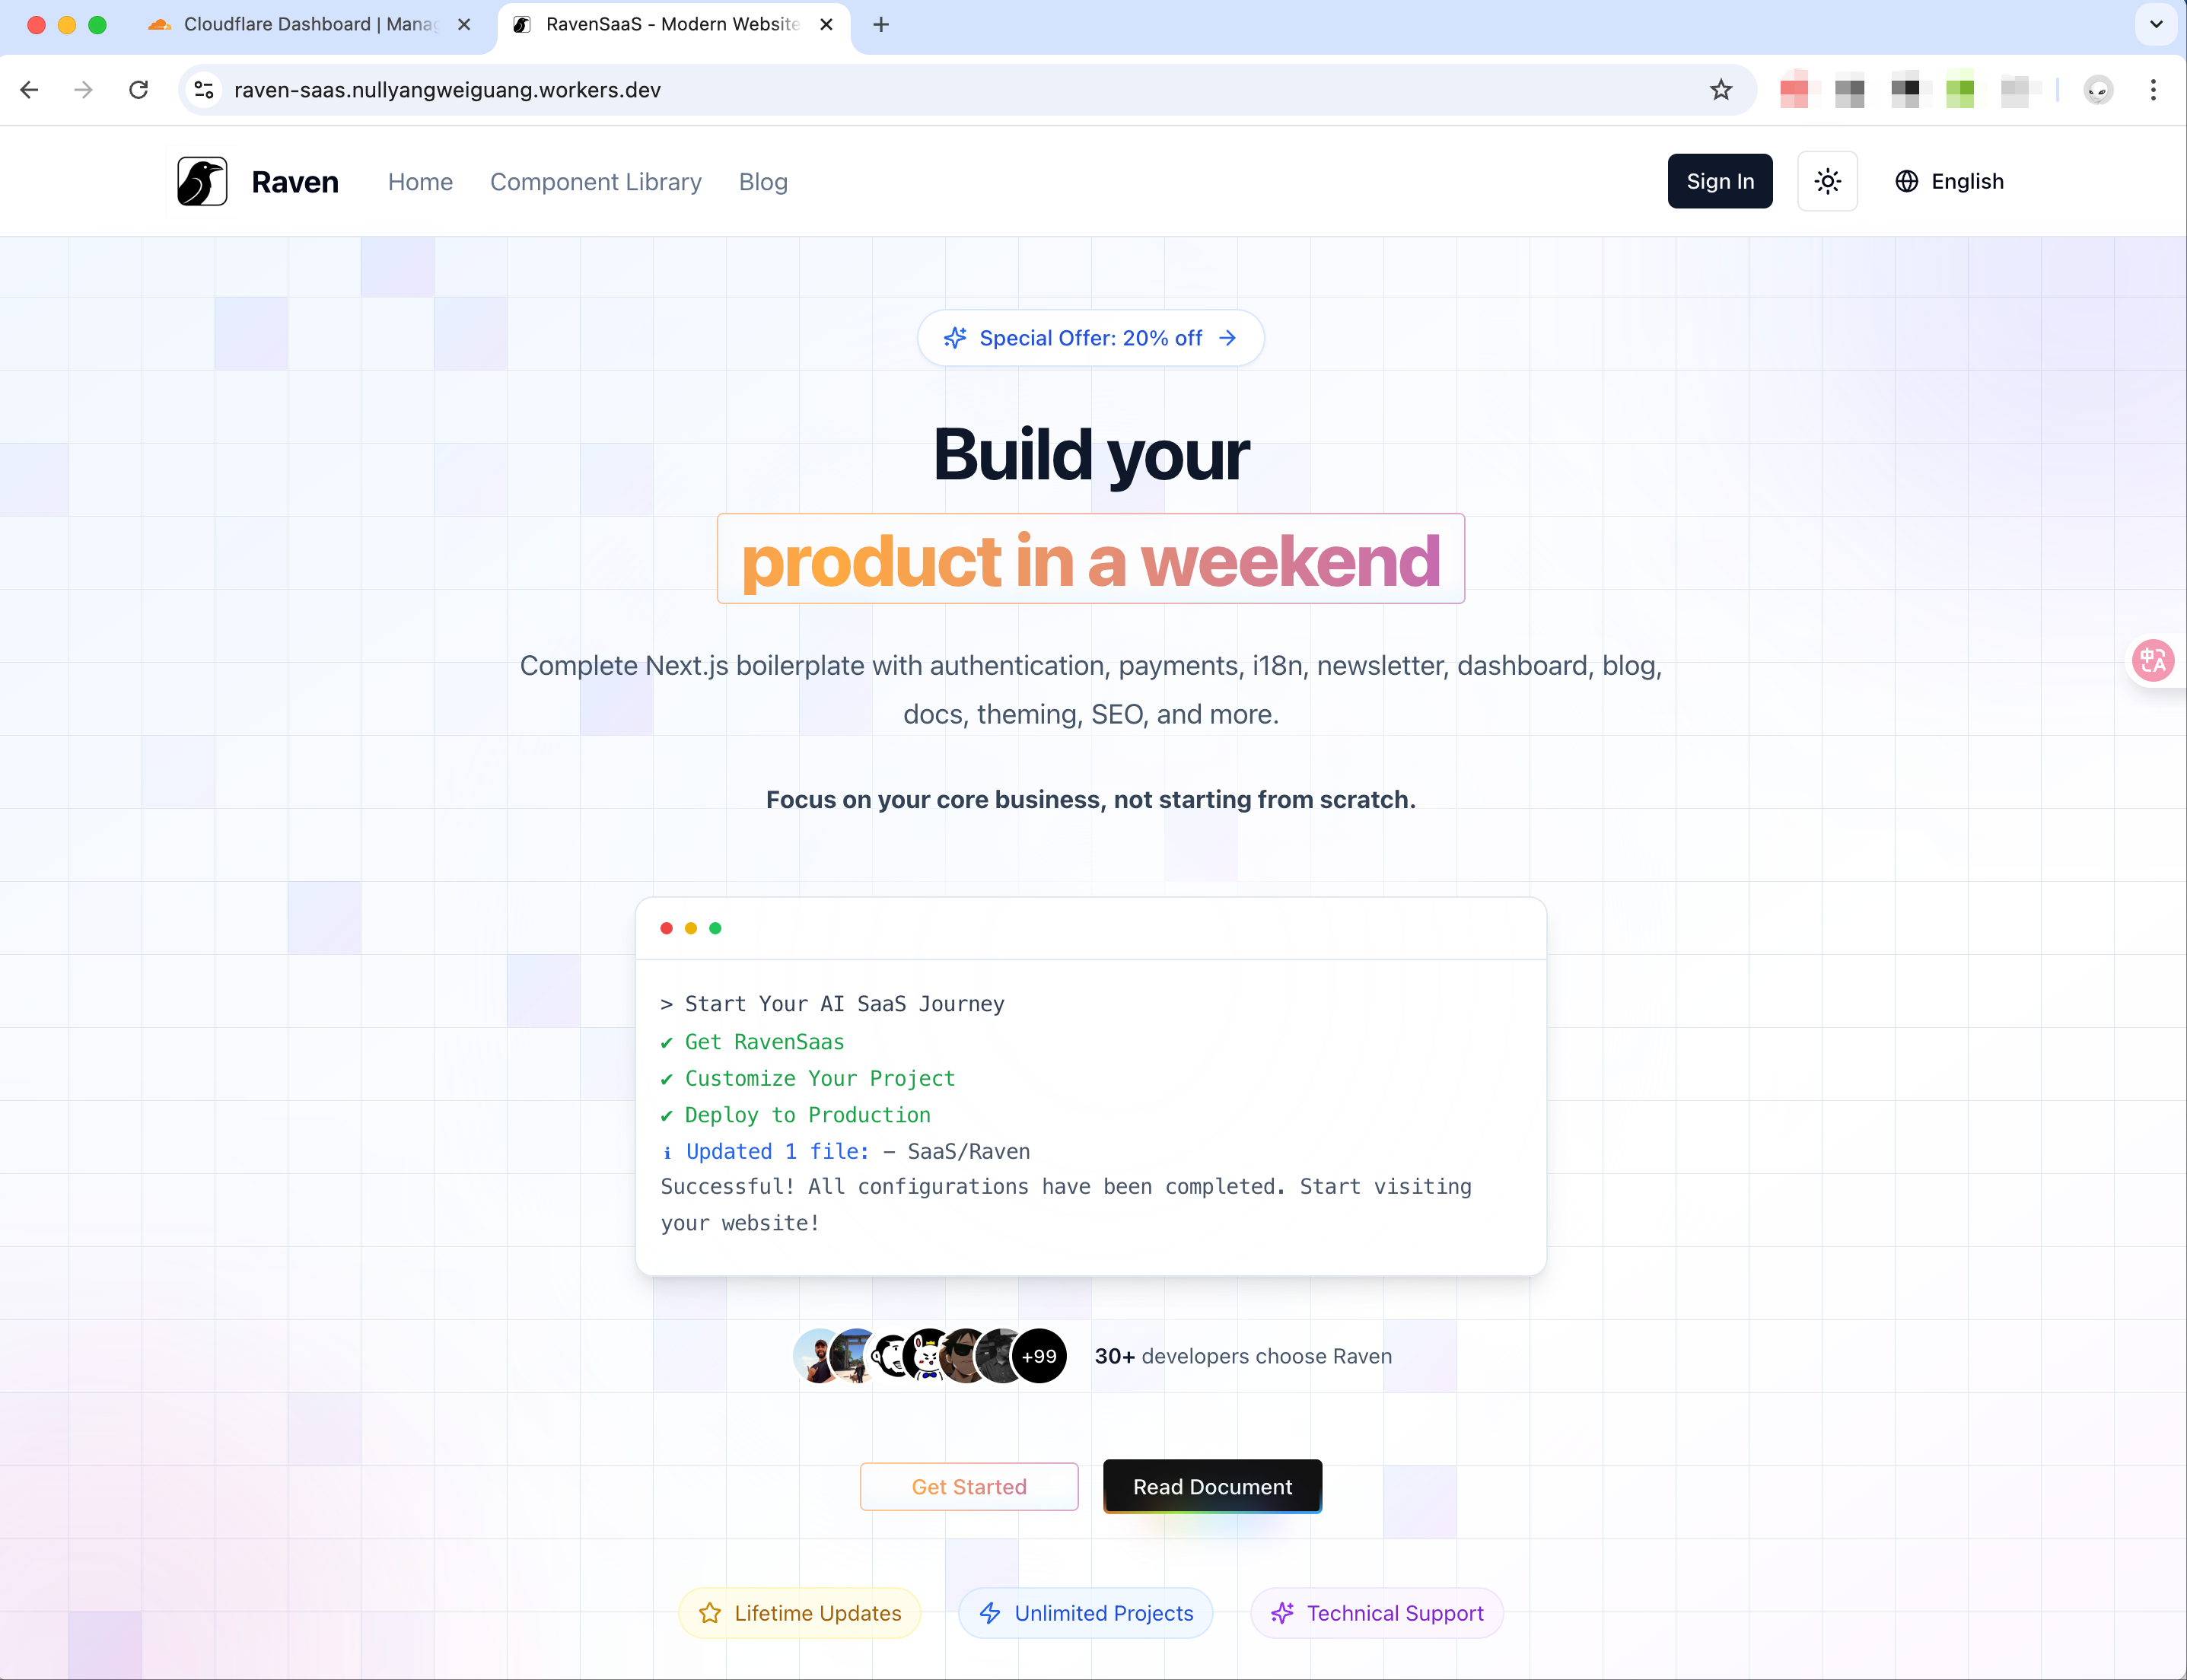
6. Access the project
You can access the project using the default generated domain, and bind a custom domain to officially go online.

Reference
Migrate NextJS App from Vercel to Cloudflare
Migrate NextJS App from Vercel to Cloudflare Documentation
View Docs →Last updated on January 5, 2025
